Few things detract from a driving experience more than a sticky cupholder or a console littered with crumbs. These high-traffic zones in any vehicle, whether a daily commuter or a weekend cruiser, inevitably collect spills and debris, demanding a systematic approach to cleanliness.
Maintaining a clean automotive interior isn't just about aesthetics; it significantly contributes to hygiene, preserves resale value, and enhances the overall comfort for drivers and passengers alike. This guide outlines a comprehensive method to tackle even the most stubborn messes, ensuring your car's interior remains a pleasant space.
Key Takeaways
- Start with Debris Removal: Always vacuum loose crumbs and use compressed air before applying any liquids.
- Choose the Right Cleaners: Utilize dedicated interior cleaners or a mild all-purpose cleaner diluted appropriately to avoid damaging surfaces.
- Detailing Tools are Essential: Small brushes, detailing putty, and microfiber cloths are key for reaching tight spaces and lifting sticky residue.
- Preventative Measures Pay Off: Regular quick cleans and protective liners can significantly reduce future deep cleaning efforts.
Essential Tools and Materials for a Pristine Interior
Before diving into the cleaning process, gathering the right arsenal of tools and materials is paramount. Utilizing household items may seem convenient, but dedicated automotive detailing products are formulated to be safe and effective on various interior surfaces without causing discoloration or damage.
Here's a breakdown of what you'll need:
- Vacuum Cleaner: A powerful shop vac or a portable car vacuum with crevice attachments is ideal for removing loose debris.
- Compressed Air: Canned air or an air compressor with a nozzle is invaluable for dislodging crumbs from tight seams and vents.
- Interior Cleaner: Opt for a pH-neutral, all-purpose interior cleaner. Many brands offer formulas safe for plastic, vinyl, and even some fabric surfaces. Dilute according to manufacturer instructions.
- Detailing Brushes: A variety of soft-bristle brushes (e.g., horsehair, boar's hair) in different sizes are crucial for agitating dirt and reaching into crevices.
- Microfiber Towels: Keep several clean, soft microfiber towels for wiping, drying, and buffing. Avoid using abrasive cloths.
- Detailing Putty/Gel: Often referred to as 'cleaning slime,' this product is excellent for picking up dust and small crumbs from intricate textures and vents without leaving residue.
- Cotton Swabs or Foam Tipped Applicators: Perfect for precision cleaning in the smallest gaps.
- Small Bucket with Warm Water: For rinsing cloths or diluting cleaners.
The Systematic Approach to Cleaning Cupholders and Consoles
Tackling sticky spills and embedded crumbs requires a methodical approach to ensure thorough cleaning without damaging your vehicle's interior. Follow these steps for optimal results:
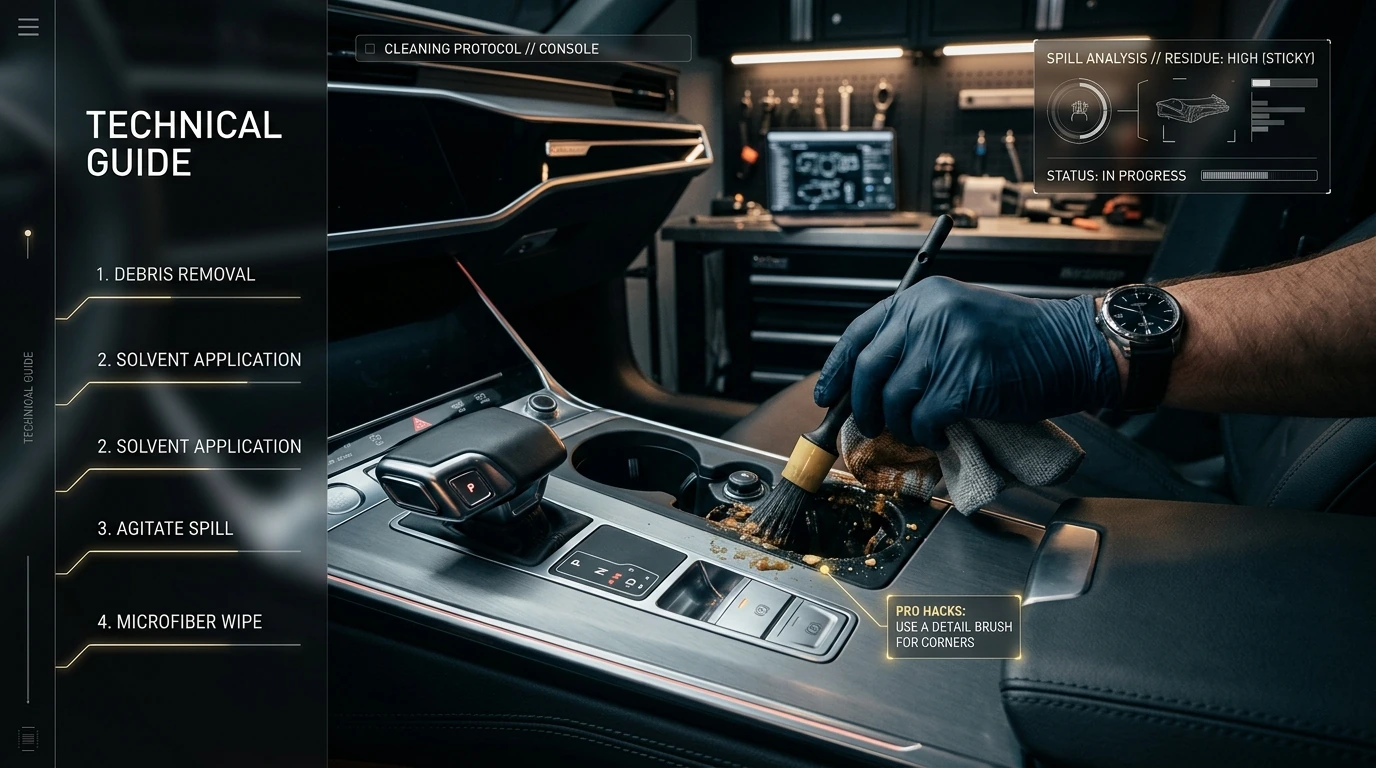
- Initial Debris Removal: Begin by removing all items from the cupholders and console. Use your vacuum cleaner with a crevice tool to suck up all loose crumbs, dust, and larger pieces of debris. Follow up with compressed air to blast out anything stuck in seams, under buttons, or deep within cupholder inserts.
- Pre-Treating Sticky Residue: For hardened or sticky spills, a gentle pre-treatment can make a significant difference. Lightly mist the area with your chosen interior cleaner. Allow it to dwell for 30-60 seconds, which helps to break down the sugars and stickiness without letting the cleaner dry.
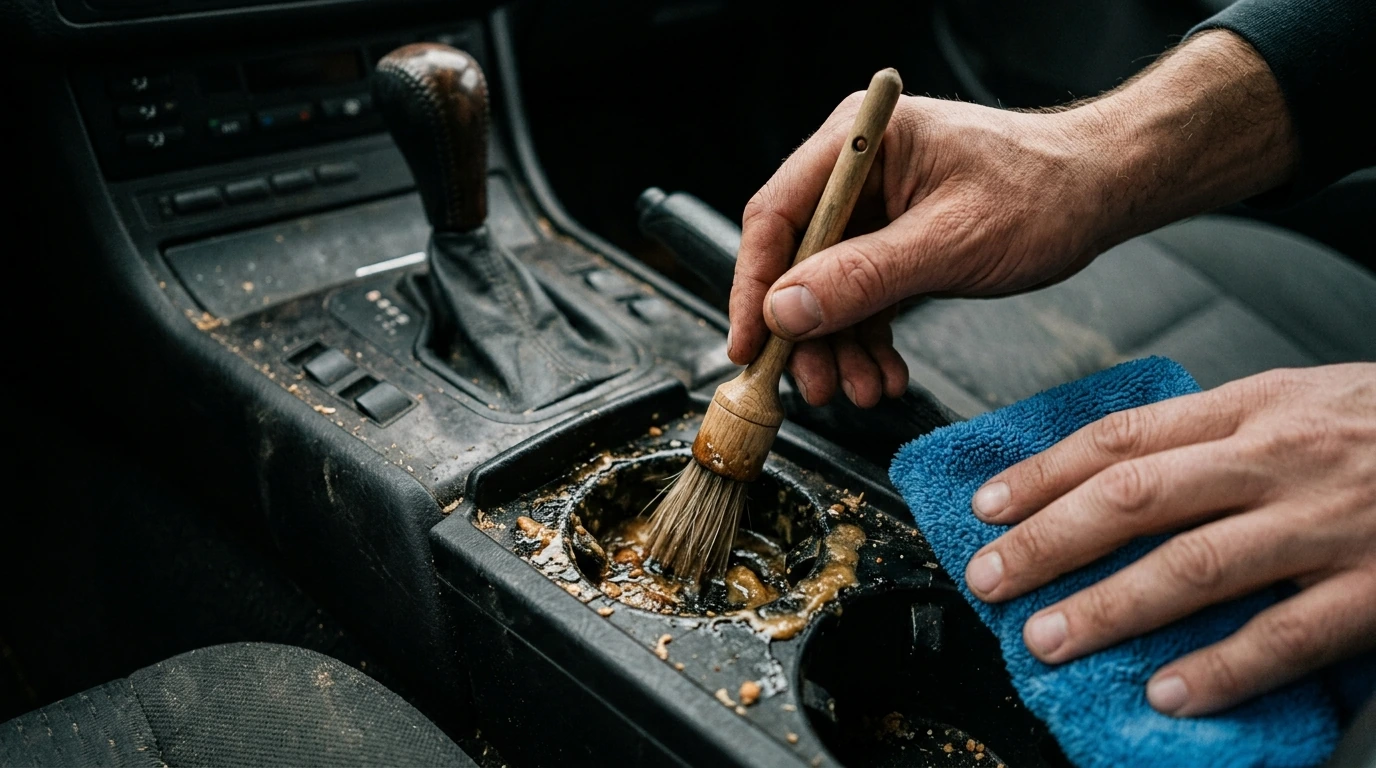
- Agitation and Scrubbing: Using your detailing brushes, gently agitate the pre-treated areas. Work the bristles into the textures of plastics and vinyl, focusing on the sticky spots. For rubber cupholder inserts, remove them if possible and clean them separately in a bucket of warm, soapy water.
- Wipe Down and Rinse: Dampen a clean microfiber towel with warm water (or a very light mist of cleaner if needed) and wipe away the loosened grime and cleaner residue. Fold the towel frequently to expose a clean surface. For very sticky areas, you might need to repeat the spray, agitate, and wipe process.
- Detailing the Fine Points: This is where cotton swabs, foam applicators, and detailing putty shine. Use them to meticulously clean around buttons, in small gaps, and inside air vents within the console area. The putty is particularly effective for lifting dust from textured surfaces.
- Drying and Final Inspection: Use a dry, clean microfiber towel to thoroughly dry all surfaces. This prevents water spots and ensures no cleaner residue is left behind. Conduct a final inspection, using a flashlight if necessary, to catch any missed spots.
PRO TIP: Avoid Saturation!
When applying interior cleaners, always spray onto your microfiber towel first, or mist very lightly directly onto the surface. Over-saturating surfaces, especially those with electronics or stitching, can lead to damage, moisture issues, or residue buildup. Less is often more with chemical application.
Preventing Future Messes and Maintaining Freshness
Once your cupholders and console are sparkling clean, the focus shifts to maintaining that pristine condition. Proactive measures can drastically reduce the frequency and intensity of deep cleaning sessions.
- Regular Quick Wipes: Make it a habit to wipe down your cupholders and console with a damp microfiber cloth during fuel stops or weekly car washes. This prevents minor spills from hardening and crumbs from accumulating.
- Cupholder Liners: Silicone or rubber cupholder inserts are an excellent investment. They are easily removable, washable, and protect the original cupholder from direct contact with spills.
- Trash Receptacle: Keep a small, dedicated car trash can or a simple plastic bag easily accessible for wrappers, receipts, and other small refuse.
- Mindful Eating and Drinking: Encourage passengers to be mindful when consuming food and drinks in the car. Using lidded cups can prevent many spills.
- Air Fresheners/Odor Eliminators: After cleaning, a quality odor eliminator (not just a masking air freshener) can neutralize any lingering smells, contributing to a truly fresh interior.
Elevating Your Car's Interior: Long-Term Strategies
The value of a clean car extends beyond immediate satisfaction. A well-maintained interior reflects positively on the vehicle's overall condition and can be a significant factor in its resale value. While DIY cleaning is effective, understanding when to engage professional services is also key.
Regular, thorough cleaning, as outlined above, will keep your car's most used areas looking their best. The investment in quality tools and a small amount of time can save you money on professional detailing in the long run and extend the life of your interior surfaces. However, for deeply ingrained stains, severe odors, or when preparing a vehicle for sale, professional detailing services offer specialized equipment and expertise that can restore an interior to near-showroom condition. They can address issues like fabric shampooing, leather conditioning, and ozone treatments for persistent odors that are beyond the scope of typical DIY efforts.
Frequently Asked Questions
- How often should I clean my car’s cupholders and console?
- For daily drivers, a quick wipe-down weekly is recommended, with a more thorough deep clean every 1-2 months, or immediately after any significant spill.
- Can I use household cleaning products like glass cleaner or dish soap?
- While some mild dish soaps might be diluted significantly, it's generally best to avoid them as they can leave residue or strip protective coatings. Glass cleaner can be too harsh for some plastics and vinyl. Stick to dedicated automotive interior cleaners for safety and best results.
- What if the cupholder inserts are permanently stained?
- If removable, try soaking them in a solution of warm water and a strong all-purpose cleaner. For permanent stains on non-removable parts, a professional detailer might be able to use stronger, specialized products or techniques to reduce their appearance.
- Is there a way to prevent crumbs from getting into tight crevices?
- Using small, flexible liners or even custom-cut felt pieces in deep crevices can help. Regular vacuuming with a crevice tool and the use of detailing putty are also excellent preventative measures.


