Few things diminish a vehicle's aesthetic appeal faster than a paint finish marred by unsightly swirl marks. These microscopic scratches, often visible under direct sunlight, are a common byproduct of improper washing techniques. For any automotive enthusiast or everyday driver committed to preserving their vehicle's showroom shine, understanding how to mitigate this damage during routine home washes is paramount.
Achieving a truly swirl-free finish at home is entirely possible, but it demands patience, the right tools, and a meticulous approach. This guide distills the essential steps and best practices, drawing on established detailing principles and widely reported professional consensus, to help you wash your car without leaving behind those dreaded paint imperfections.
Understanding Paint Micro-Scratches: The Root of Swirls
Swirl marks are essentially tiny, circular scratches on your car's clear coat, typically caused by friction from abrasive particles or improper contact during washing and drying. These imperfections refract light, creating the characteristic hazy or spiderweb-like appearance. The primary culprits are often:
- Contaminated Wash Media: Using a single bucket that collects dirt particles, then transferring those particles back onto the paint with a wash mitt.
- Incorrect Wash Mitts/Sponges: Materials that trap dirt rather than releasing it, or those with abrasive surfaces.
- Insufficient Lubrication: Washing a dry or poorly rinsed surface, increasing friction.
- Aggressive Washing Techniques: Applying too much pressure or scrubbing in circular motions.
- Improper Drying: Using abrasive towels, dragging towels across the paint, or allowing water to air dry and leave mineral deposits.
Preventing these marks hinges on minimizing friction and ensuring that any contact with the paint surface is as gentle and clean as possible.
Assembling Your Swirl-Prevention Arsenal
The foundation of a swirl-free wash lies in having the correct equipment. Investing in quality tools is not merely a luxury; it's a necessity for preserving your paintwork.
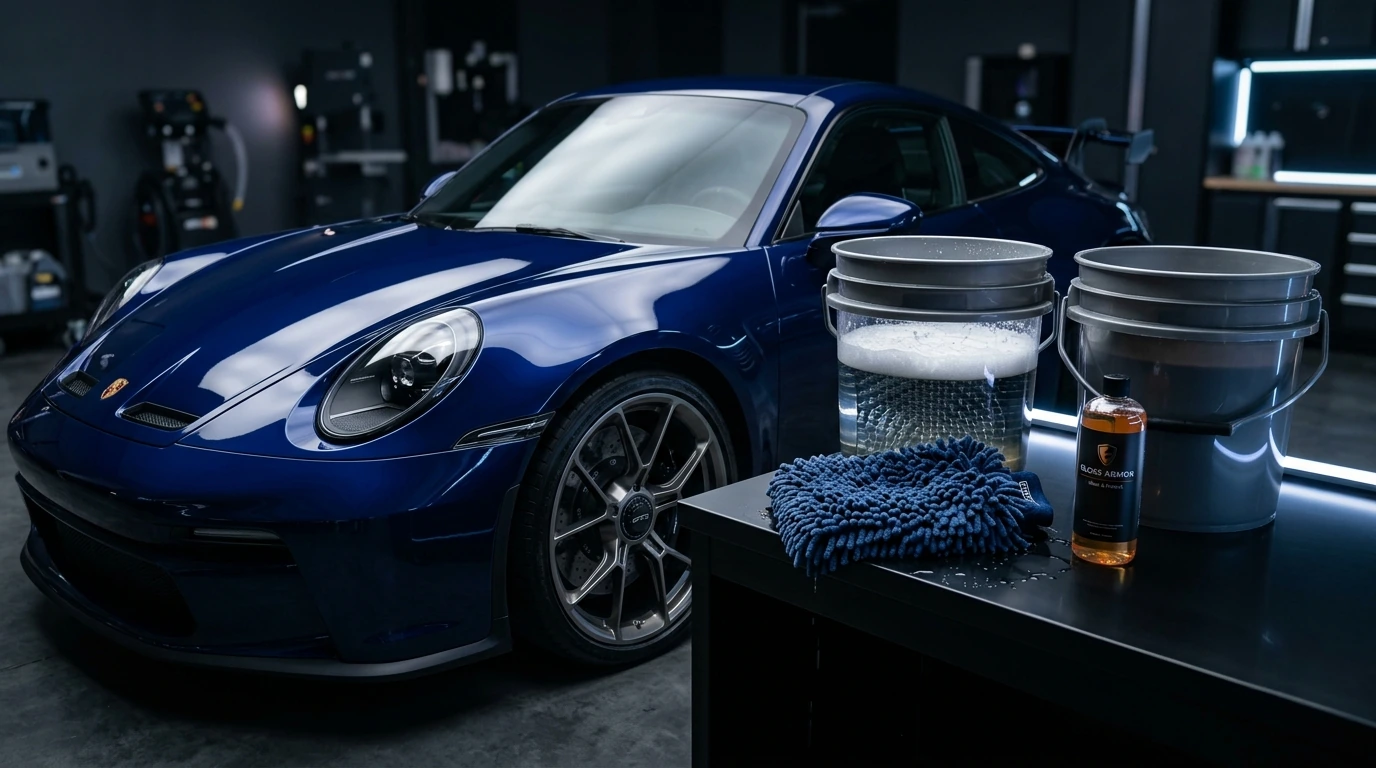
- Two Buckets with Grit Guards: This is non-negotiable. One bucket for your soapy wash solution, the other for rinsing your mitt. Grit guards, placed at the bottom of each bucket, trap dirt and debris, keeping them away from your wash mitt.
- High-Quality Wash Mitts: Opt for plush microfiber chenille mitts, sheepskin, or wool mitts. These materials are designed to lift and trap dirt away from the paint surface, and they release it effectively when rinsed. Avoid sponges, which tend to drag dirt.
- pH-Neutral Car Shampoo: A dedicated car shampoo provides excellent lubrication and cleaning power without stripping waxes or sealants. Look for formulas that produce rich suds.
- Dedicated Drying Towels: Large, ultra-plush microfiber drying towels (e.g., waffle weave or twisted loop) are essential. They absorb large volumes of water with minimal passes, reducing friction.
- Wheel & Tire Specific Cleaners and Brushes: Keep these separate from your paint-safe tools to avoid cross-contamination.
- Hose with Spray Nozzle: A nozzle that allows for a gentle, even rinse is crucial.
PRO TIP: Pre-Rinse & Decontaminate
Before any mitt touches paint, perform a thorough pre-rinse to remove loose dirt and debris. For heavily soiled vehicles, consider a pre-wash foam cannon application to loosen grime further, minimizing physical contact required during the main wash stage.
Executing the Two-Bucket Method for Pristine Results
The washing process itself is where most swirl marks are introduced. Following a methodical, gentle approach is key.
- Initial Rinse: Start by thoroughly rinsing the entire vehicle from top to bottom using a strong but gentle stream of water. This removes loose dirt, dust, and larger contaminants.
- Prepare Your Buckets: Fill one bucket with your pH-neutral car shampoo and water, creating a rich sudsy solution. Fill the second bucket with clean water for rinsing your mitt. Both should have grit guards.
- Wash from Top Down: Begin washing the highest panels (roof, upper windows, hood) and work your way down. Gravity will pull dirt downwards, and you want to clean the least contaminated areas first.
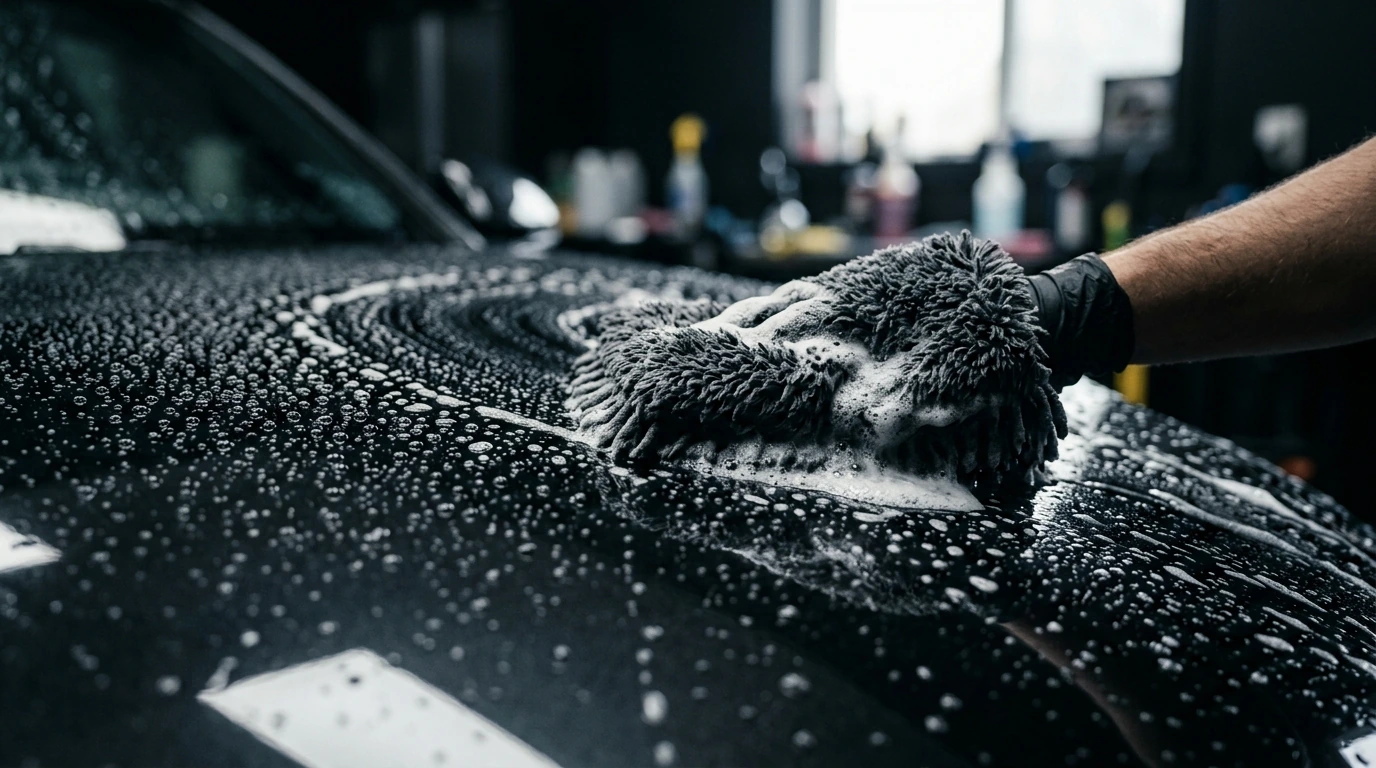
- One Panel at a Time: Work on small sections or one panel at a time. Dip your clean wash mitt into the soapy solution, gently wipe a section of the car in straight lines (never circles!), then immediately rinse the mitt thoroughly in the clean water bucket, rubbing it against the grit guard to release trapped dirt.
- Re-Suds & Repeat: Dip the now-clean mitt back into the soapy water and proceed to the next section. This constant rinsing of the mitt in the dedicated rinse bucket is the cornerstone of swirl prevention.
- Final Rinse: Once the entire car has been washed, perform a final, thorough rinse from top to bottom. Allow the water to sheet off the paint as much as possible, which reduces the amount of water you'll need to dry.
Spotless Finish: Advanced Drying Strategies
Drying is another critical stage where swirl marks can easily be introduced if not done correctly.
- Blot, Don't Drag: Use your large, plush microfiber drying towel. Lay it flat on a wet section of the car and gently pat or blot the water. Avoid dragging the towel across the paint, which can push any remaining particles and cause scratches.
- Multiple Towels: It's often beneficial to use two or three drying towels for a full-sized vehicle. As one towel becomes saturated, switch to a fresh, dry one to maintain maximum absorbency.
- Compressed Air or Blower (Optional): For intricate areas like grilles, mirrors, and wheel wells, a leaf blower (ensure it's clean and doesn't blow debris) or a dedicated car dryer can effectively remove trapped water without any physical contact.
- Detail Spray (Optional): A quick detailer or drying aid can be misted onto the paint as you dry. This adds lubrication, enhances shine, and can help prevent water spots, further reducing the risk of friction-induced marring.
Long-Term Paint Protection After the Wash
While a meticulous wash prevents immediate damage, ongoing protection is vital for maintaining a swirl-free finish. Applying a quality wax, sealant, or ceramic coating provides a sacrificial layer over your clear coat. This layer not only enhances gloss but also makes future washes easier by creating a slicker surface where dirt is less likely to adhere, and water beads off more effectively.
Regular application of these protective products, as per manufacturer specifications, significantly reduces the effort required during washing and provides a crucial barrier against environmental contaminants and minor abrasions.
The Investment in a Lasting Shine: Is It Worth It?
Adopting a swirl-free car washing regimen requires a greater initial investment in quality tools and a more deliberate approach to the task itself. The primary advantage is undeniable: the long-term preservation of your vehicle's paint finish. This meticulous process safeguards the clear coat, maintains the factory gloss, and significantly reduces the need for costly paint correction services down the line. While the time commitment is higher than a quick drive-through wash, the visual payoff of a consistently pristine, swirl-free vehicle is substantial. For anyone who values their vehicle's appearance and seeks to protect its resale value, this method is not merely recommended; it is the definitive standard for home car care.