
Does your car's seatbelt feel sluggish, refusing to retract fully back into its housing? That slow, hesitant pull-back is a common frustration, often signaling an accumulation of dust, grime, and debris within the belt's fabric and the retraction mechanism itself. Over time, these contaminants can impede the smooth operation of a crucial safety device, making it not only annoying but potentially less effective in an emergency.
Restoring your seatbelt's smooth operation is a straightforward task, requiring minimal tools and a bit of patience. This guide will walk you through the process, ensuring your seatbelts retract as intended, enhancing both convenience and safety.
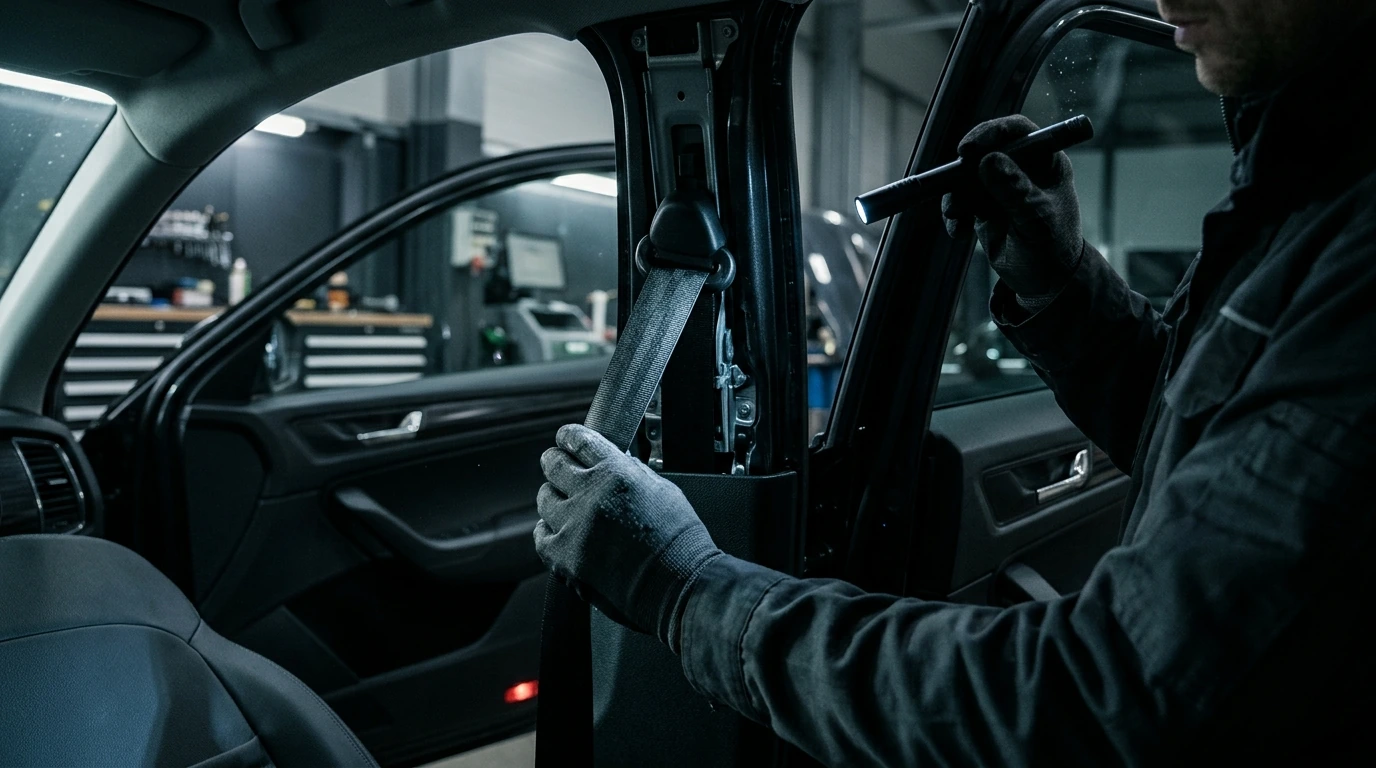
Key Takeaways
- A slow retracting seatbelt often indicates dirt buildup on the strap and in the mechanism.
- Gentle, targeted cleaning with appropriate solutions is key to restoring function.
- Avoid harsh chemicals or excessive moisture to prevent damage to the belt and mechanism.
- Regular inspection and cleaning can extend the life and safety performance of your seatbelts.
Identifying the Issue and Gathering Your Arsenal
The primary culprit for a sluggish seatbelt is usually accumulated dirt, body oils, and environmental dust embedded in the fabric weave. This buildup increases friction, making it harder for the retraction spring to pull the belt back. Additionally, debris can find its way into the retraction mechanism itself, binding the internal components.
Required Prerequisites and Tools:
- Vacuum Cleaner: With a brush attachment for initial dust removal.
- Mild Automotive Upholstery Cleaner: Or a gentle all-purpose cleaner diluted to a 1:10 ratio with distilled water. Avoid harsh chemicals.
- Soft-Bristle Brush: An interior detailing brush, a soft toothbrush, or a nail brush works well.
- Microfiber Towels: Several clean ones for wiping and drying.
- Bucket of Clean Water: For rinsing towels.
- Spring Clamps or Strong Binder Clips: To hold the seatbelt extended during cleaning.
- Optional: Silicone Lubricant Spray: A non-staining, plastic-safe variant for the retraction mechanism, to be applied very sparingly if accessible.
Step-by-Step Restoration of Seatbelt Function
Follow these steps carefully to clean your seatbelts and restore their smooth operation.
Expose the Full Strap
Pull the seatbelt out completely from its housing until you reach the end. Use a spring clamp or strong binder clip to secure the belt to the door pillar or the seat frame, preventing it from retracting. This ensures you can access the entire length of the strap for cleaning.
Initial Vacuum and Surface Clean
Begin by thoroughly vacuuming both sides of the exposed seatbelt strap using the brush attachment. This removes loose dust, crumbs, and surface debris. After vacuuming, lightly mist a section of the belt with your chosen mild cleaning solution. Do not saturate the fabric.
Deep Cleaning the Strap
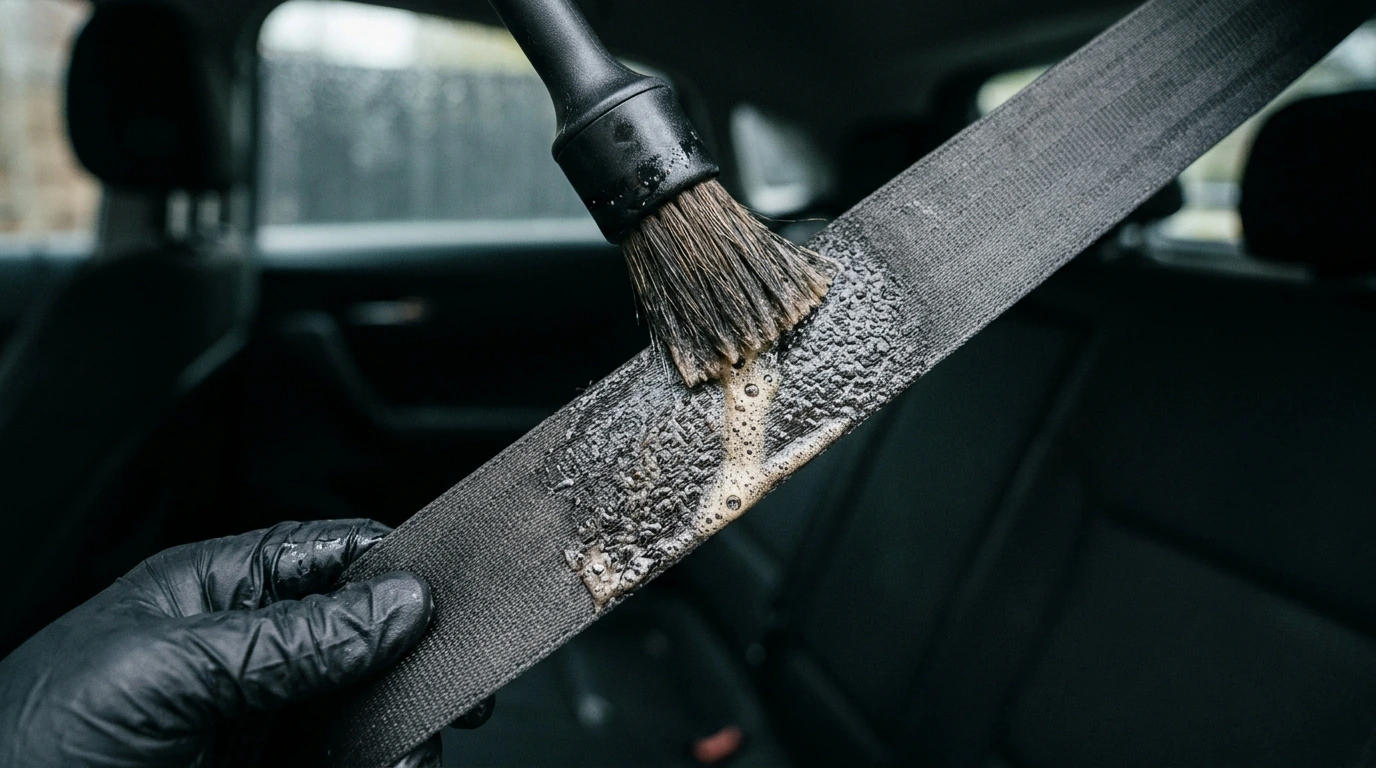
Using your soft-bristle brush, gently scrub the wetted section of the seatbelt. Work in small sections, applying light pressure to agitate the dirt without damaging the fibers. You will likely see grime lifting from the strap. Immediately after scrubbing, wipe the section clean with a damp (not soaking wet) microfiber towel. Rinse the towel frequently in your bucket of clean water and wring it out thoroughly. Repeat this process, moving along the entire length of the seatbelt, until the strap appears clean. Once cleaned, use a dry microfiber towel to absorb as much moisture as possible.
Addressing the Retraction Mechanism (Carefully)
While deep cleaning the internal mechanism is not recommended for safety reasons, you can gently clean the opening where the belt retracts. Use a slightly damp microfiber towel to wipe away any visible dust or grime around the plastic housing. If you have a non-staining, plastic-safe silicone lubricant spray, you may apply a very small, controlled burst directly onto the belt as it enters the housing, allowing it to wick into the mechanism. Avoid over-application, as excess lubricant can attract more dirt. Exercise extreme caution and do not attempt to disassemble the mechanism.
Common Missteps to Avoid During Cleaning
To prevent damage and ensure the longevity of your seatbelts, steer clear of these common errors:
- Using Harsh Chemicals: Bleach, strong solvents, or abrasive cleaners can weaken the seatbelt fabric, compromise its integrity, and potentially damage the retraction mechanism or surrounding plastics. Always opt for mild, automotive-specific cleaners.
- Soaking the Belt: Never saturate the seatbelt with water or cleaning solution. Excessive moisture can lead to mildew, unpleasant odors, and can also seep into the retraction mechanism, potentially causing rust or impeding its function.
- Forgetting to Dry Thoroughly: Ensure the seatbelt is completely dry before allowing it to retract. This might take several hours, especially in humid conditions. Leaving it extended and allowing air circulation is crucial.
- Disassembling the Retraction Mechanism: Seatbelt retraction mechanisms are complex safety devices. Attempting to disassemble them without proper training and tools can lead to permanent damage, rendering the seatbelt unsafe, and should be avoided at all costs.
- Using Abrasive Tools: Stiff brushes, wire brushes, or scouring pads can fray the seatbelt fabric, reducing its strength and effectiveness. Stick to soft-bristle brushes.
Post-Cleaning Performance Check
Once the seatbelt strap is completely dry, unclip it and allow it to retract fully. Perform these checks to confirm successful restoration:
- Smooth Retraction: The belt should retract smoothly and consistently without hesitation or snagging.
- Consistent Tension: Pull the belt out several times to ensure the tension feels uniform throughout its length.
- No Residue or Dampness: Visually inspect the strap for any remaining cleaning solution residue or damp spots.
- Odor Check: Confirm there are no lingering chemical or mildew odors. The belt should smell clean and neutral.
- Locking Mechanism Test: Pull the seatbelt sharply and firmly to test its emergency locking feature. It should lock instantly, as designed.


Comments
Post a Comment