
Dealing with persistent pet hair embedded in your car's velour seats can be a frustrating challenge for any vehicle owner. These soft fabric surfaces, while comfortable, are notorious for trapping dog and cat hair deep within their fibers, making traditional vacuuming often insufficient. Fortunately, a simple household item offers a remarkably effective solution, allowing you to restore your car's interior to a hair-free state with minimal effort.
Understanding the Challenge and Gathering Your Gear
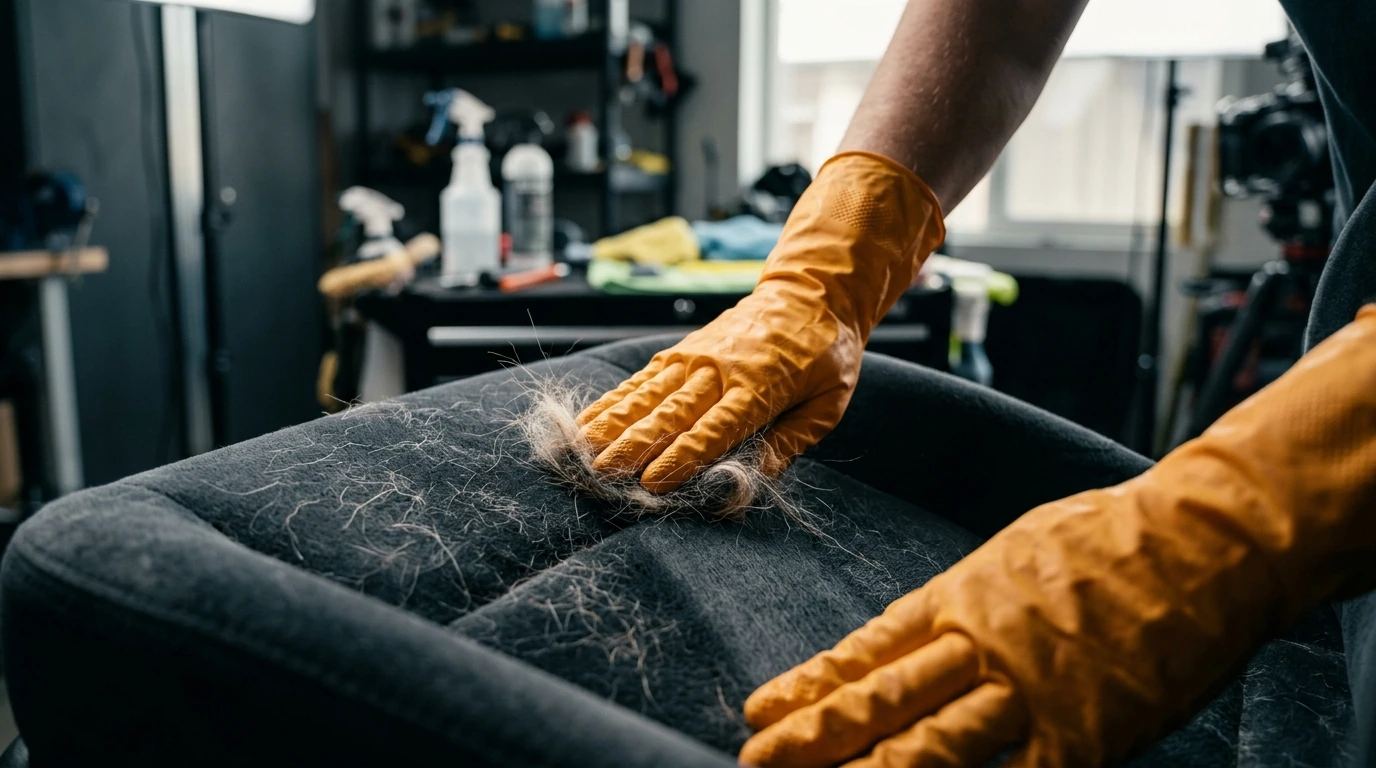
Velour's looped pile construction, similar to velvet, provides a comfortable texture but also acts like a magnet for pet hair, especially fine, short strands. Standard vacuum cleaners often struggle to dislodge these deeply embedded hairs, requiring specialized tools or techniques. The rubber glove method capitalizes on static electricity and friction to effectively lift and clump the hair.
Required Tools and Materials:
- Rubber Gloves: Standard household cleaning gloves or even dishwashing gloves work best. Textured gloves tend to be more effective than smooth ones.
- Spray Bottle with Water: A small amount of moisture helps enhance the static charge and makes the hair easier to clump.
- Vacuum Cleaner (with brush attachment): For initial loose hair removal and final cleanup.
- Lint Roller (optional): For any stray hairs that remain after the main process.
- Microfiber Cloth: For wiping down surfaces if they become damp.
The Hair Removal Process: A Detailed Walkthrough
Follow these steps to systematically clear your velour car seats of stubborn pet hair.
- Initial Vacuuming: Begin by thoroughly vacuuming the velour seats. Use a brush attachment to agitate the fibers and remove as much loose hair, dirt, and debris as possible. This step makes the rubber glove method more efficient.
- Lightly Dampen the Glove: Lightly spray your rubber glove with water. It should be damp, not dripping wet. The moisture helps create a static charge and provides better grip on the hair. Alternatively, you can wet your hands and then put on the gloves, ensuring an even, light coating of moisture.
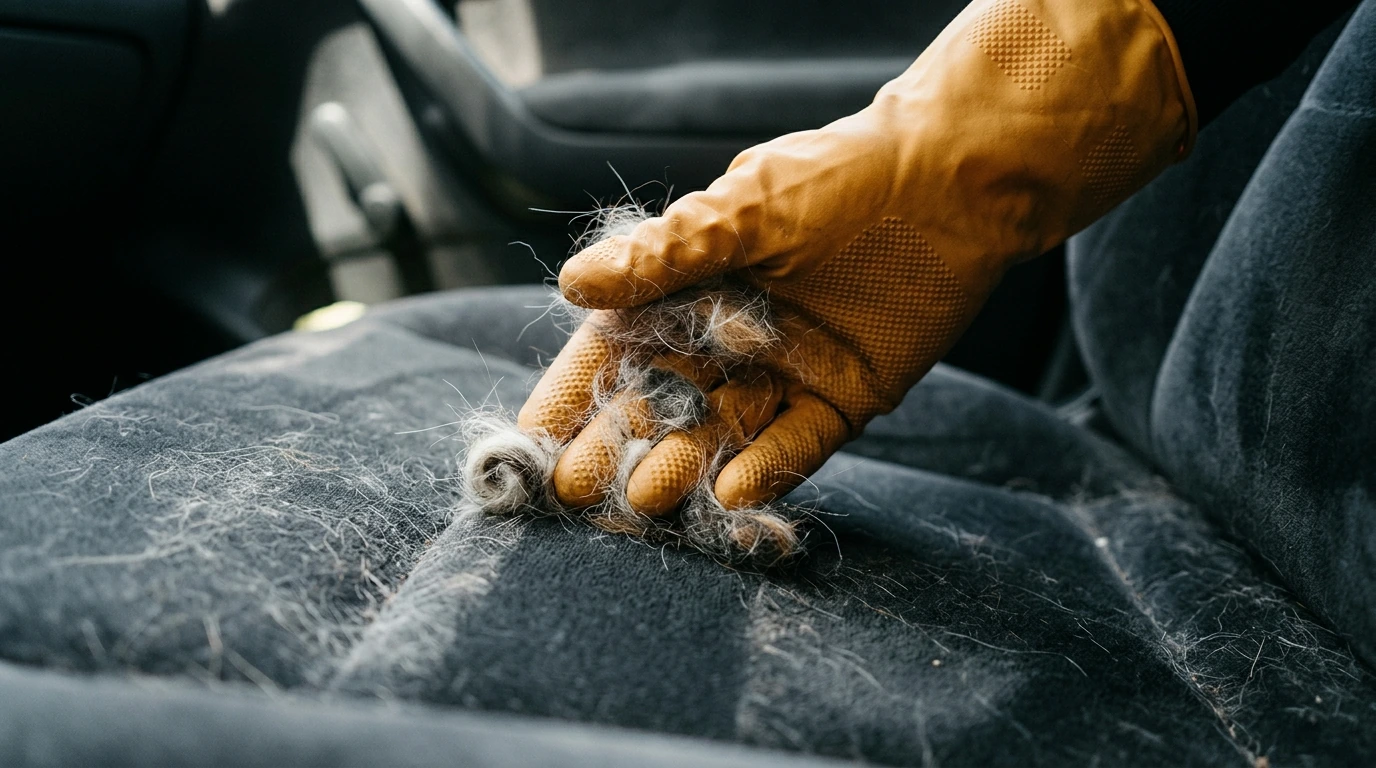
- Wipe in One Direction: Starting from one edge of the seat, firmly wipe the velour surface with your damp, gloved hand. Use long, sweeping strokes, consistently moving in one direction. You will observe the pet hair beginning to clump together and roll into small balls.
- Collect the Hair Clumps: As you continue wiping, the hair will accumulate into larger, more manageable clumps. Periodically peel these clumps off your glove and discard them. For heavily soiled areas, you may need to re-dampen your glove.
- Address Edges and Crevices: Pay close attention to seams, corners, and areas where the seat meets the console or door panel. Fold your gloved hand or use a finger to work into these tighter spots, as hair often collects most densely there.
- Repeat as Necessary: Continue the process over the entire velour surface until all visible pet hair has been removed. The goal is to achieve a completely hair-free finish.
- Final Vacuum (Optional): After removing the majority of the hair, a quick final vacuum pass can pick up any small, remaining strands or debris that may have been dislodged but not fully collected.
Pro Tip: Optimize Your Glove Choice
For maximum effectiveness, consider using heavy-duty rubber dishwashing gloves that feature a textured palm and finger surface. The added texture significantly improves friction and static generation, making hair collection much quicker and more thorough than with smooth gloves.
Avoiding Common Mistakes for a Flawless Finish
While the rubber glove method is straightforward, certain missteps can reduce its effectiveness or even cause minor issues with your car's interior.
- Over-Wetting the Seats: Applying too much water to the velour can saturate the fabric, leading to prolonged drying times, potential for mildew, or water stains. The glove should be just damp, not soaking.
- Aggressive Scrubbing: Excessive force or scrubbing motions can push hair deeper into the fibers rather than lifting it. Use firm, consistent wiping strokes instead.
- Ignoring Initial Vacuuming: Skipping the initial vacuum pass means the gloves will quickly become overloaded with loose debris and hair, making the process slower and less effective.
- Not Cleaning the Glove: As hair accumulates on the glove, its effectiveness diminishes. Regularly peel off the collected hair to maintain optimal performance.
- Using the Wrong Type of Glove: Thin, smooth latex or nitrile gloves may not generate enough static or friction to effectively grab deeply embedded pet hair.
Final Checks for a Pristine Interior
Once you believe all the pet hair has been removed, a quick verification can ensure your velour seats are truly spotless.
- Visual Inspection in Good Light: Examine the seats from different angles under natural light or a bright flashlight. This helps reveal any missed spots or fine hairs that might not be visible otherwise.
- Run a Dry Hand Over the Surface: Gently run a clean, dry hand over the velour. If you feel any lingering hairs, they will often cling to your skin, indicating areas that need further attention.
- Check Seams and Crevices Again: These areas are common hiding spots for stubborn hair. Use a lint roller or a piece of strong tape to dab these areas for any remaining strands.
- Assess for Dampness: Ensure the seats are completely dry before closing up the car to prevent any moisture-related issues. If they feel slightly damp, allow for air circulation.


Comments
Post a Comment