
Are greasy streaks and persistent smears diminishing your windshield visibility, particularly during rain or low light conditions? These frustrating marks are a clear indicator that your wiper blades, rather than the windshield itself, are often contaminated with road grime, oils, and other environmental pollutants. Over time, this buildup compromises the rubber's ability to make clean contact with the glass, leading to reduced clarity and increased driving hazard.
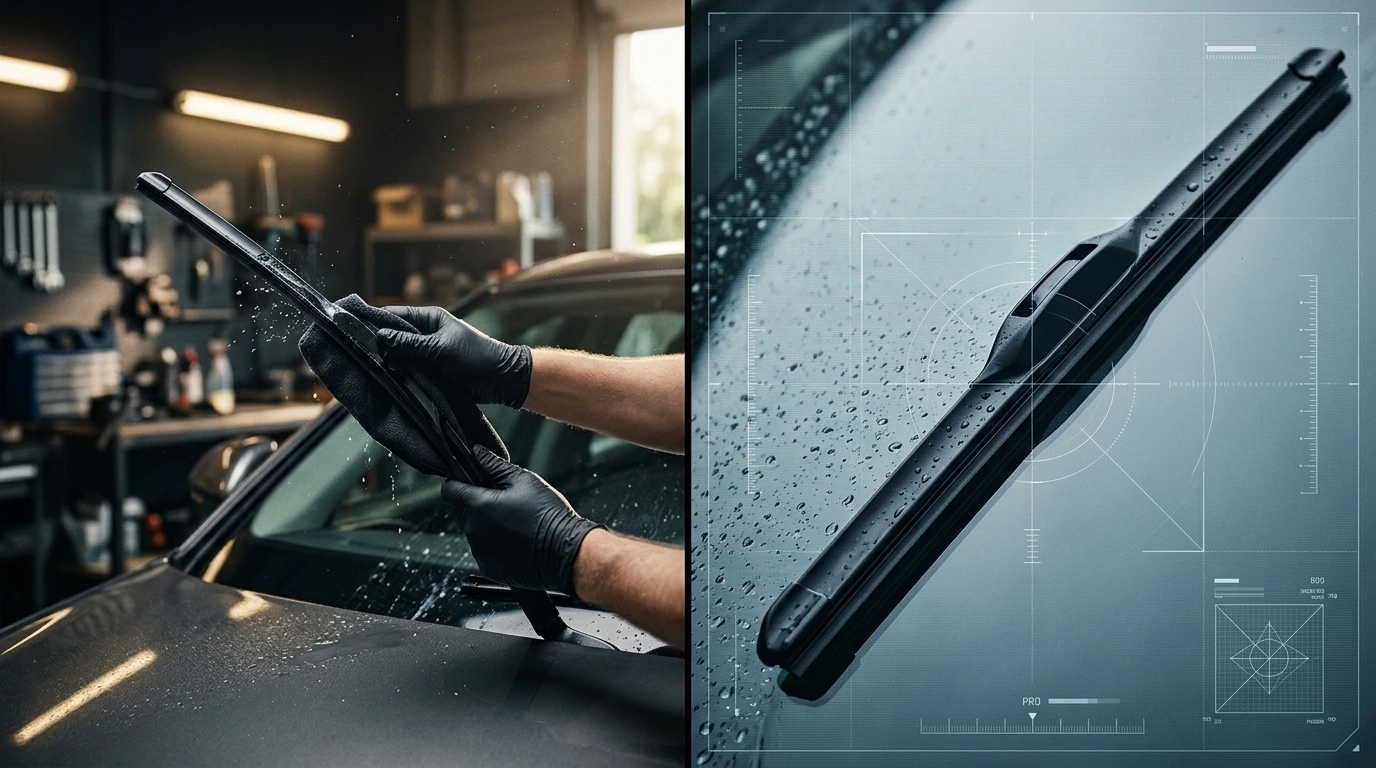
Identifying the Problem and Gathering Your Kit
Before diving into the cleaning process, it is essential to confirm that grease smears are indeed the culprit for your visibility issues. Often, a quick visual inspection of the wiper blade's rubber edge will reveal a dark, oily film or hardened deposits. Chattering or skipping wipers can also point to contaminated or hardened rubber. Gathering the correct tools beforehand ensures a smooth and effective cleaning operation.
Required Prerequisites and Tools:
- Mild Dish Soap: A small amount of a gentle, non-abrasive dishwashing liquid is ideal for breaking down oil and grease.
- Rubbing Alcohol (Isopropyl Alcohol 70% or higher): This is highly effective for dissolving stubborn residues and evaporating cleanly.
- Clean Microfiber Cloths: Have at least two or three on hand. These are crucial for their non-abrasive nature and excellent absorption.
- Warm Water: For rinsing and diluting soap.
- Spray Bottle (Optional): Useful for applying the alcohol solution evenly.
- Bucket: For mixing soapy water.
The Step-by-Step Blade Cleaning Procedure
Restoring your wiper blades to optimal condition is a straightforward process when approached systematically. Following these steps can significantly improve your driving visibility.
- Lift Wiper Arms and Inspect: Gently pull each wiper arm away from the windshield until it locks into its upright position. Carefully examine the rubber edge of each blade for visible grime, cracks, or hardening. While cleaning addresses grime, severe cracks or hardened rubber typically necessitate blade replacement.
- Initial Warm Water Rinse: Using a clean, damp microfiber cloth soaked in plain warm water, gently wipe down the length of each rubber blade. This removes loose dirt and prepares the surface for deeper cleaning.
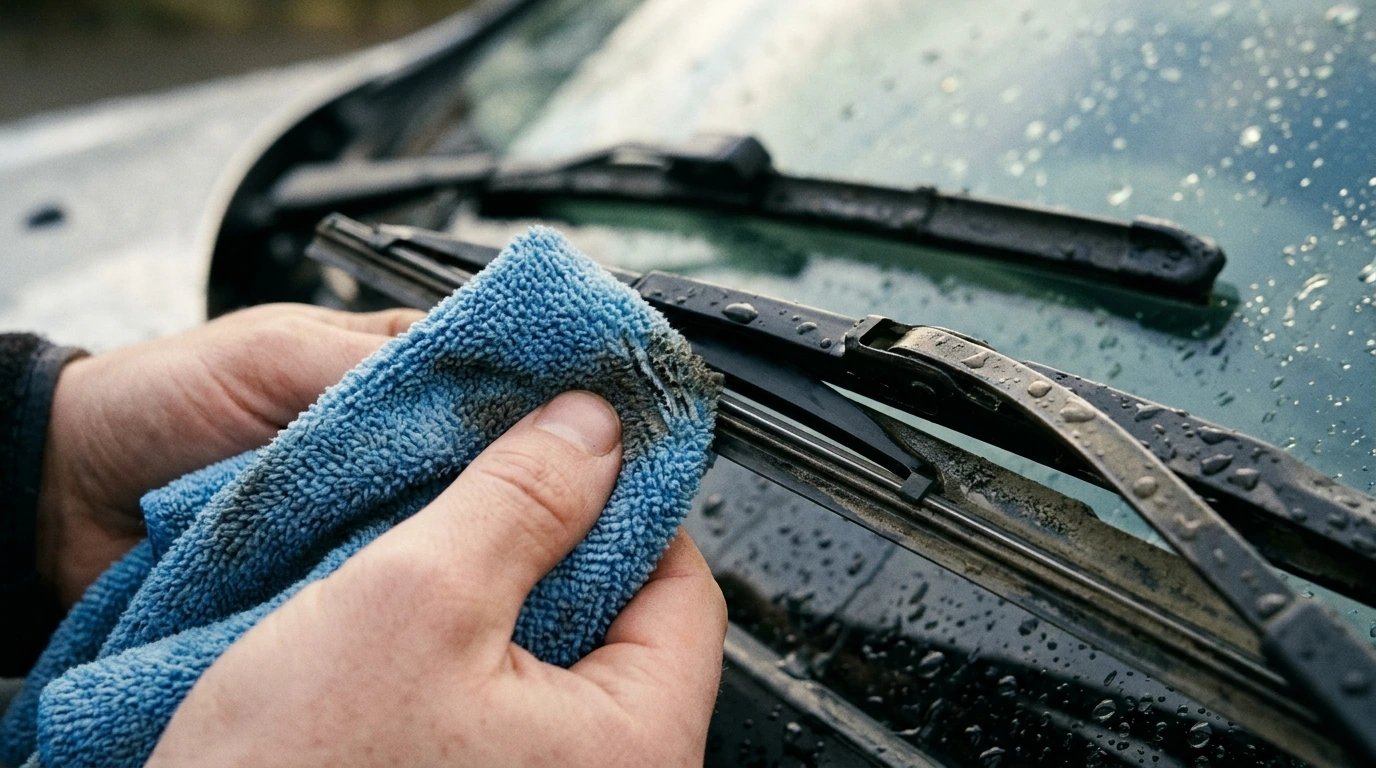
- Soap and Water Wash: In a bucket, mix a few drops of mild dish soap with warm water. Dip a fresh microfiber cloth into the soapy solution, wring it out slightly, and then meticulously wipe along the entire length of the rubber blade. Apply gentle pressure, ensuring you clean all sides of the rubber element. You will likely see dark residue transferring onto the cloth, indicating the removal of accumulated road film.
- Rubbing Alcohol Wipe: Once the soapy residue is rinsed off with clean water, dampen a separate, clean microfiber cloth with rubbing alcohol. Wipe down the rubber blades again, moving in one direction. The alcohol will further dissolve any remaining oil, grease, or stubborn streaks and help condition the rubber. Continue wiping until no more black residue transfers onto the cloth.
- Final Rinse and Dry: Perform a final rinse of the blades with clean water to remove any alcohol traces. Use a dry, clean microfiber cloth to gently pat the blades dry. Ensure no lint or fibers are left behind on the rubber.
Avoiding Common Cleaning Errors
While cleaning wiper blades is straightforward, certain missteps can reduce effectiveness or even damage the blades. Awareness of these common pitfalls can help maintain blade longevity and performance.
- Using Harsh Chemicals: Avoid strong detergents, petroleum-based cleaners, or abrasive solvents. These can degrade the rubber compound, leading to premature cracking and reduced flexibility, which is critical for effective wiping.
- Wiping Too Aggressively: Excessive force can tear or distort the delicate rubber edge, compromising its ability to make uniform contact with the windshield. Gentle, consistent pressure is sufficient.
- Not Cleaning Enough: A single quick wipe might not remove all embedded grease and grime. The goal is to continue wiping with alcohol until the cloth comes away clean, indicating all contaminants have been lifted.
- Forgetting the Windshield: A clean blade on a dirty windshield will still produce smears. Always ensure your windshield glass is also thoroughly cleaned, ideally with a dedicated automotive glass cleaner, to complement the freshly cleaned blades.
Confirming Restored Clarity
After cleaning, verifying the effectiveness of your work is crucial to ensure your efforts have yielded the desired clear views. This verification process involves a few simple checks.
- Visual Inspection: Look closely at the rubber blades under good lighting. They should appear clean, smooth, and free of any visible film or residue.
- Water Test: Lightly spray your windshield with water using a hose or a spray bottle. Activate your wipers on a low setting. The blades should glide smoothly across the glass, leaving behind a uniformly clear, streak-free path. Any remaining streaks or chattering suggest further cleaning or potential blade replacement might be necessary.
- Drive Test (Optional): If conditions allow, a short drive in light rain or after a windshield wash can provide the most accurate assessment of performance. Observe if visibility is significantly improved and if the blades clear water efficiently without leaving behind a haze or smears.


Comments
Post a Comment