
Worried about your car's headliner sagging after a clean?
The key lies in understanding its delicate construction and choosing the right method, rather than just scrubbing away. Many well-intentioned cleaning efforts inadvertently lead to costly damage.
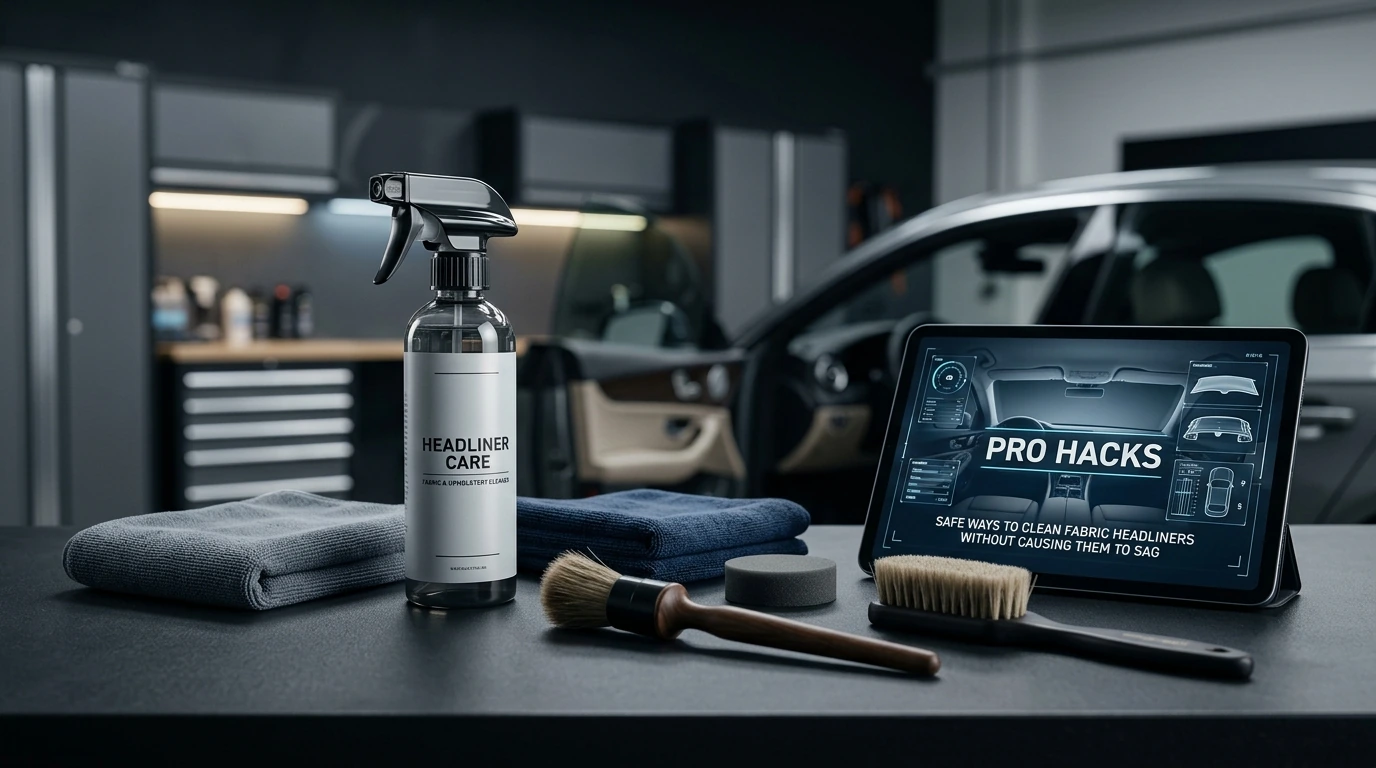
Key Takeaways for Headliner Care
- Always use a pH-neutral, low-moisture cleaner to protect adhesives.
- Gentle blotting with microfiber is crucial; avoid scrubbing or saturating.
- Spot-test any cleaning product in an inconspicuous area first.
- Patience and allowing ample drying time prevent headliner delamination.
Your Headliner's Delicate Nature Explained
This guide details the safest methods and products for cleaning fabric car headliners without causing them to detach or sag. It's essential for any car owner looking to maintain their vehicle's interior appearance and resale value. Those who prefer quick, heavy-duty cleaning with aggressive chemicals or excessive moisture should absolutely skip these delicate techniques.
The biggest trade-off for a truly safe clean is the time and patience required, as rushing the process almost guarantees damage. Your car's headliner is typically a fabric layer glued to a thin foam backing, which in turn adheres to a rigid backing board. The foam layer is where the problem often arises; it degrades over time and can dissolve when exposed to too much moisture or harsh chemicals, causing the fabric to detach and sag.
Critical Elements for a Safe Headliner Clean
Choosing the right approach and materials is paramount to avoiding damage. Here are the key considerations that dictate success when cleaning your car's fabric headliner:
| Process/Material | What It Means in Practice | Verdict (Plus / Minus / Neutral) | Who Feels It Most |
|---|---|---|---|
| pH-Neutral Cleaner | Prevents chemical degradation of the delicate foam and adhesive layers, as well as preserving fabric dyes. | Plus | All car owners, especially those with older vehicles or delicate, light-colored fabrics. |
| Low-Moisture Application | Crucial for avoiding saturation of the foam backing, which is the primary cause of adhesive failure and sagging. | Plus | Everyone, as excessive moisture is the leading cause of irreversible headliner damage. |
| Microfiber Cloths & Soft Brushes | Allows for gentle agitation and lifting of dirt without abrading the fabric or pushing moisture too deeply into the foam. | Plus | Owners concerned about fabric wear, pilling, or delicate headliner materials. |
| Spot-Test in Hidden Area | Verifies product compatibility and colorfastness on your specific headliner fabric before full application, preventing discoloration or damage. | Plus | All users, particularly when using a new cleaning product or dealing with unknown stain types. |
Real-World Headliner Cleaning Scenarios
Applying these principles to common situations ensures your headliner remains intact and clean. The approach changes based on the level of dirt and type of stain.
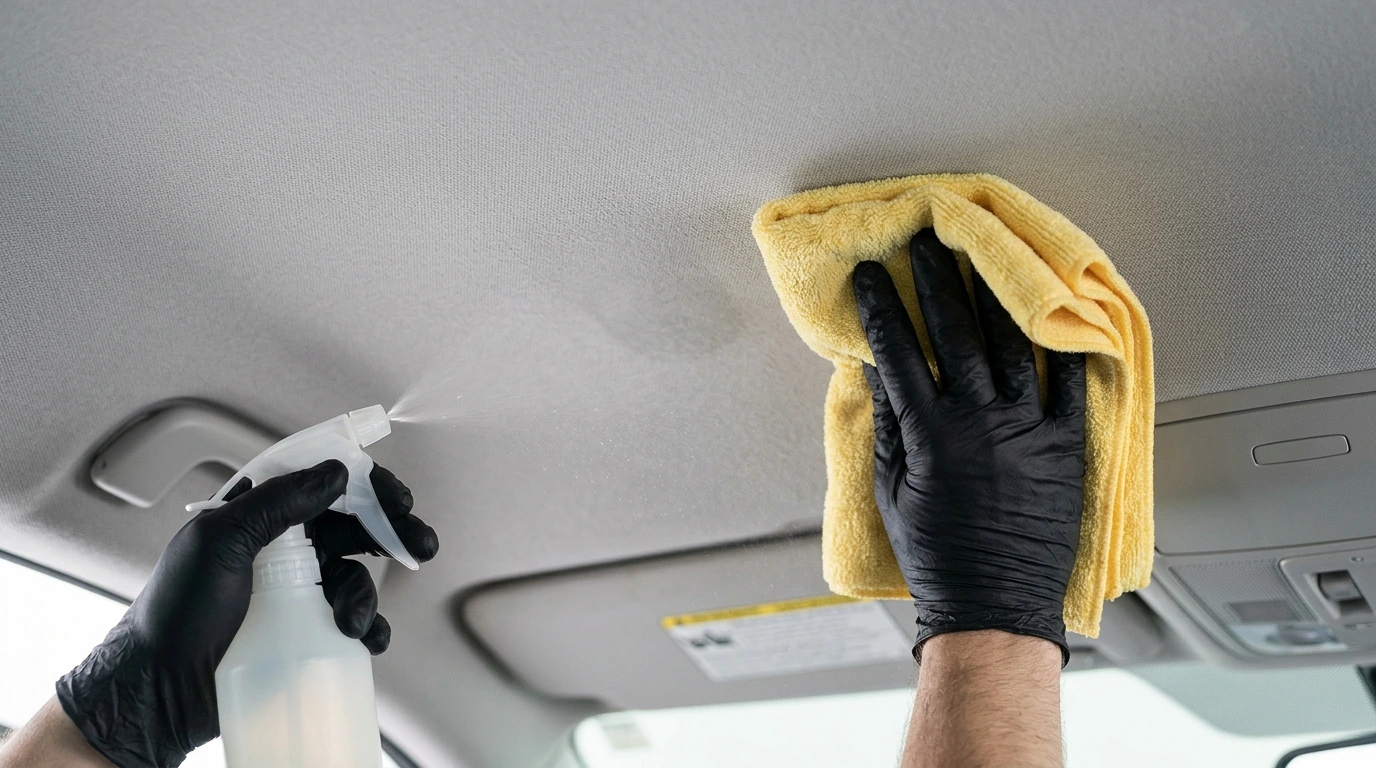
Light Dust & Surface Grime
For routine maintenance or light dust accumulation, start with a soft-bristled interior brush to gently dislodge surface particles. Follow this with a low-power vacuum cleaner and a brush attachment to carefully suction away the loosened dirt. This dry method is the safest for general upkeep and poses virtually no risk to the headliner's adhesive.
Isolated Spill or Stain
Address specific spills or stains immediately. Lightly mist a pH-neutral headliner cleaner onto a clean microfiber cloth, not directly onto the headliner. Gently blot the stained area, working from the outside in to prevent spreading. Use a fresh, slightly damp microfiber cloth to blot any residue, then a dry one to absorb excess moisture. The low-moisture application and blotting technique are critical here to prevent saturation.
General Interior Refresh
When the entire headliner needs a refresh, work in small, overlapping sections. Lightly mist the headliner cleaner onto a microfiber cloth, then gently wipe or blot a small section. Immediately follow with a clean, slightly damp microfiber cloth to remove any cleaner residue, and then a dry one to wick away moisture. This section-by-section approach, coupled with minimal moisture, allows for controlled cleaning and adequate drying time, reducing the risk of adhesive failure.
PRO TIP: Always work in small, manageable sections, and allow each area to thoroughly dry before proceeding or assessing the result. Rushing the drying process or saturating the fabric is the fastest route to a sagging headliner.
Advantages of a Gentle Approach and Potential Pitfalls
Adopting a meticulous, gentle method for headliner cleaning comes with significant benefits, though it also presents certain limitations.
Advantages
- Preserves Headliner Integrity: Using pH-neutral, low-moisture cleaners directly prevents the breakdown of the delicate foam and adhesive layers, ensuring the headliner remains firmly attached and avoids sagging.
- Maintains Fabric Appearance: Gentle blotting with microfiber cloths and soft brushes avoids abrasive scrubbing, which can lead to fabric pilling, stretching, or discoloration over time.
- Avoids Costly Repairs: By preventing the foam and adhesive from degrading, you eliminate the need for expensive professional re-gluing or even full headliner replacement, saving significant time and money.
Drawbacks
- Time-Consuming Process: The requirement for careful, section-by-section application and ample drying time means this method is not a quick fix and demands patience.
- May Not Tackle Deep Stains: pH-neutral cleaners and gentle methods, while safe, might not be sufficient to fully remove heavily ingrained, oil-based, or very old stains that require more aggressive chemistry.
- Requires Specific Tools: This approach necessitates dedicated microfiber cloths, a soft interior brush, and a specialized headliner-safe cleaning agent, which represents a minor initial investment.
Alternative Cleaning Considerations
While the gentle, low-moisture method is ideal for most situations, there are times when other options might be considered, or when professional intervention is warranted.
Professional Detailing Services
If your headliner has extensive, deeply set stains, or if you're uncomfortable attempting the cleaning yourself, a professional detailer is often the best choice. They have specialized equipment, such as low-moisture extractors and professional-grade, headliner-safe chemicals, which can achieve a deeper clean with controlled risk.
Steam Cleaning (Professional Use Only)
Some professionals use steam cleaners for headliners, but this is a high-risk method due to the heat and moisture involved. It requires expert technique to ensure the steam is applied briefly and from a distance, with immediate blotting to prevent saturation. For DIY enthusiasts, steam cleaning is generally not recommended due to the high potential for adhesive failure.
Value in Preservation and Smart Choices
The true value in safely cleaning your car's headliner isn't found in the cost of the cleaning products, but in avoiding the significant expense and frustration of repairing or replacing a damaged one. A sagging headliner not only looks unsightly but can also diminish your vehicle's resale value.
When selecting cleaning products, always check the label for clear indications that they are safe for automotive fabric headliners and specify a pH-neutral formula. Avoid generic household cleaners, as their chemical composition can be too harsh for delicate automotive adhesives and dyes. Always prioritize products designed for low-moisture application.
Your Headliner's Future: Clean or Collapse?
If you prioritize the long-term integrity and appearance of your car's interior and are willing to invest the necessary time and patience, embracing these careful, low-moisture cleaning techniques is a clear 'buy-in' for headliner preservation. However, if you're seeking a quick, aggressive solution for deep stains or lack the patience for a delicate process, it's advisable to 'skip' DIY attempts and consult a professional detailer to avoid irreversible damage.
This review is compiled from official product specifications and widely reported user feedback rather than a personal lab test, and specific product details or regional variants can differ.


Comments
Post a Comment