
A clean engine bay not only enhances a vehicle's appearance but also contributes to its overall health and longevity. Dust and debris accumulation can hinder heat dissipation, mask fluid leaks, and potentially interfere with sensitive electrical connections.
While the urge to hose down a grimy engine might be strong, introducing water to modern engine compartments, especially near intricate wiring and sensors, carries significant risks. Understanding how to safely remove engine dust without resorting to water is crucial for preserving your vehicle's electronics.
Key Takeaways
- Prioritize dry cleaning methods to safeguard engine electronics from moisture-related damage.
- Assemble specific tools such as compressed air, soft detailing brushes, and microfiber cloths.
- Follow a methodical, section-by-section approach for thorough and effective dust removal.
- Always disconnect the battery and cover sensitive components before beginning any cleaning process.
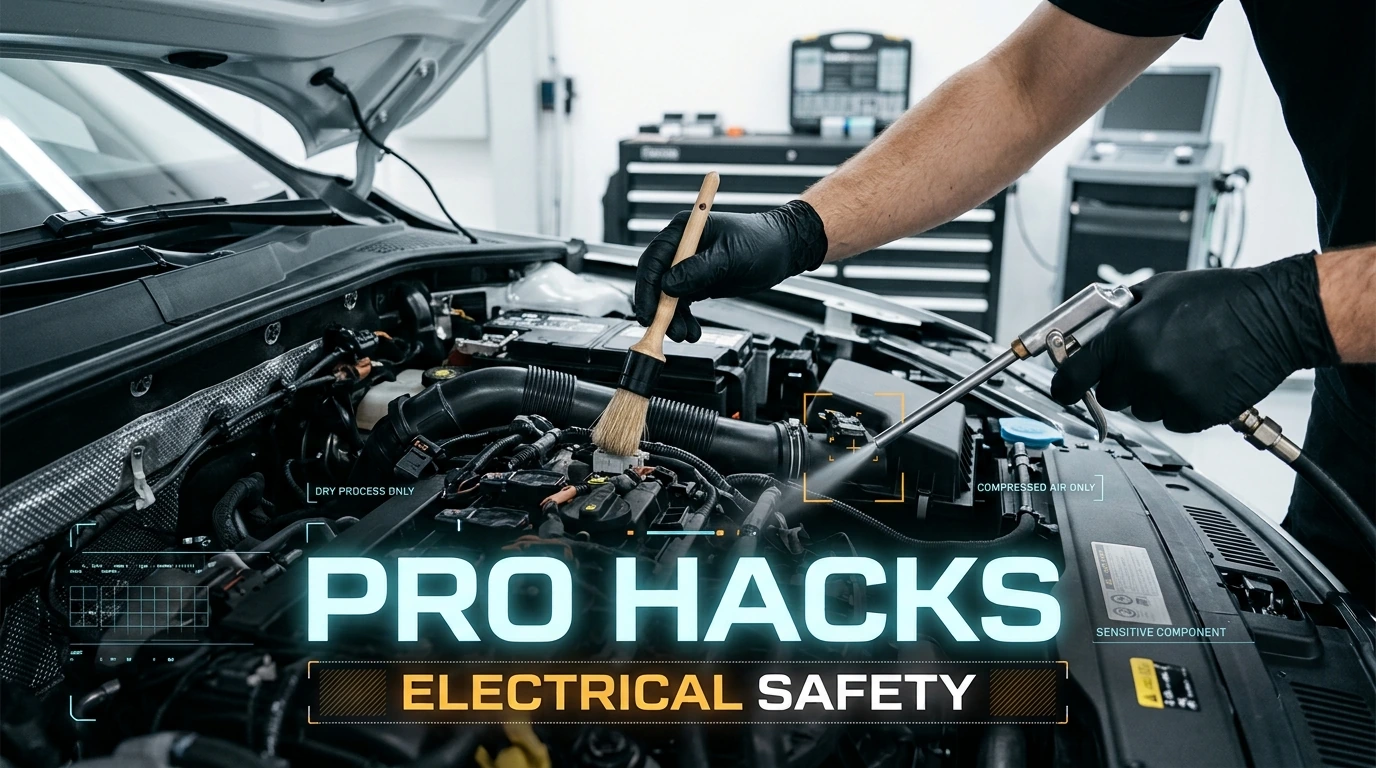
Protecting Engine Electronics from Water's Reach
Modern vehicle engine bays are intricate ecosystems filled with sophisticated electronics, sensors, and wiring harnesses. These components are often designed to withstand some environmental exposure, but direct water impingement, particularly from high-pressure hoses, can compromise their integrity. Water ingress can lead to corrosion, short circuits, and erratic sensor readings, potentially causing costly repairs or even vehicle immobilization. Dry cleaning methods offer a safer alternative, focusing on dust and light debris removal without introducing moisture that could seep into vulnerable connections or cause oxidation over time.
Essential Tools for a Dust-Free Engine Compartment
Before you begin the dry cleaning process, gathering the correct tools ensures efficiency and safety. Having everything at hand minimizes interruptions and helps maintain focus on precision.
- Compressed Air: A can of compressed air or a low-pressure air compressor with a blower nozzle is invaluable for dislodging dust from tight spaces.
- Soft Detailing Brushes: A variety of sizes, from large utility brushes to small, fine-bristle brushes, will allow you to agitate dust from all surfaces without scratching.
- Microfiber Towels: Several clean, lint-free microfiber towels are essential for wiping down surfaces and picking up dislodged dust.
- Vacuum Cleaner with Brush Attachment: A shop vac or a household vacuum with a soft brush attachment can effectively remove loose debris and dust.
- Plastic Sheeting or Bags: To cover sensitive electrical components and openings.
- Safety Glasses and Gloves: Protect your eyes from flying debris and your hands from grime.
Step-by-Step Dry Engine Bay Dust Eradication
Executing a thorough dry clean requires a systematic approach. Follow these steps to ensure a safe and effective outcome.
- Cool Down and Disconnect: Always ensure the engine is completely cool to the touch. Disconnect the negative terminal of your vehicle's battery to eliminate any risk of electrical short circuits during the cleaning process.
- Strategic Covering of Sensitive Areas: Use plastic sheeting or bags to carefully cover components such as the alternator, fuse box, battery terminals (if not disconnected), and any open air intakes. This prevents dust and debris from being blown into critical systems.
- Initial Loose Debris Removal: Begin by using your vacuum cleaner with a brush attachment to gently suction off any large, loose debris, leaves, or heavy dust accumulation from accessible surfaces.
- Compressed Air Application: With safety glasses on, use compressed air to blow dust out of crevices, around wiring, and from hard-to-reach areas. Work from the top down and from the back of the engine bay towards the front, allowing dust to fall to accessible areas.
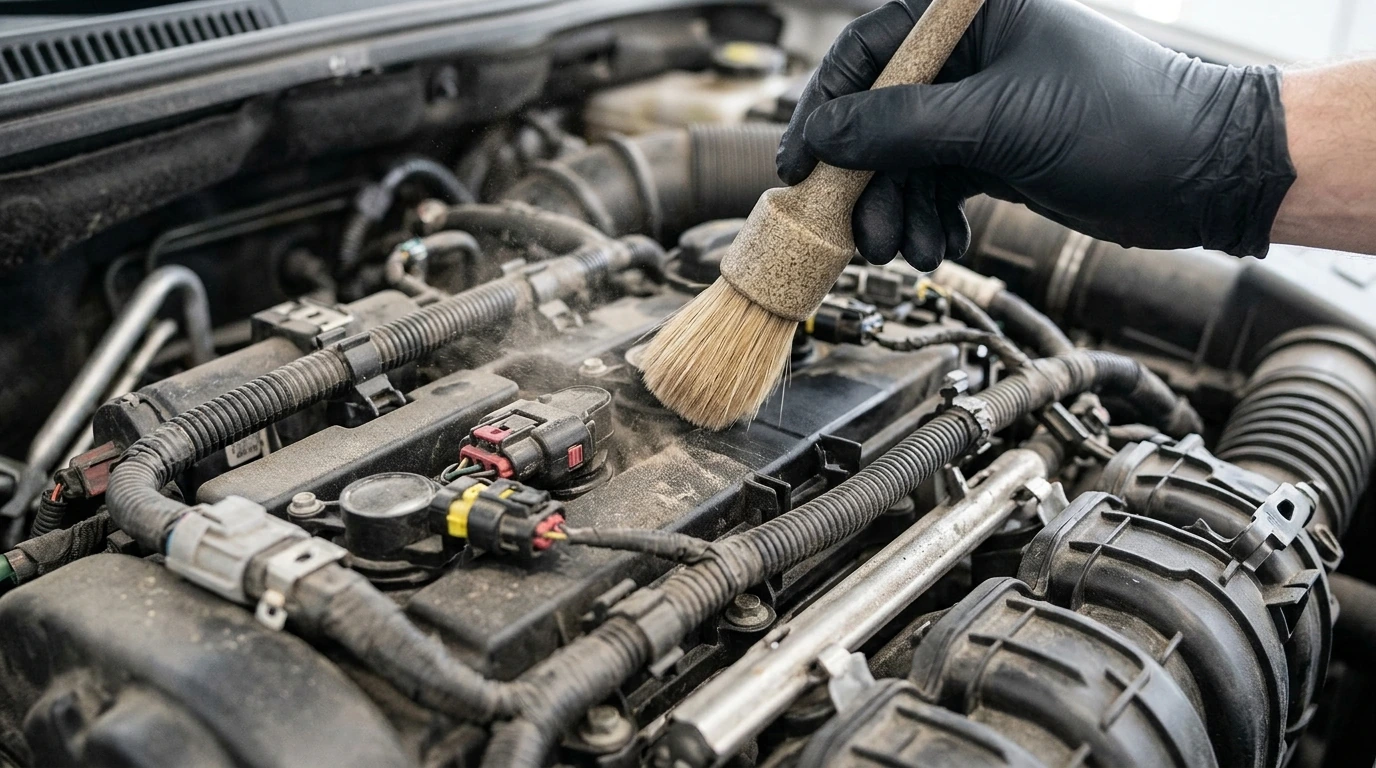
- Targeted Brush Agitation: Employ your soft detailing brushes to agitate stubborn dust and grime from plastic covers, hoses, and around electrical connectors. The brushes help lift the dust, making it easier to remove.
- Wipe Down Surfaces: Follow up with clean microfiber towels to wipe down all accessible surfaces, collecting the dust that has been agitated and dislodged. Fold the towel frequently to expose a clean surface.
PRO TIP: Controlled Airflow
Always maintain a safe distance when using compressed air, typically 6-12 inches (15-30 cm), to prevent forcing debris into sensitive areas or damaging delicate components with excessive pressure. Never direct high-pressure air directly into electrical connectors or sensors.
Common Missteps to Avoid
Even with the best intentions, certain actions can undermine the safety and effectiveness of dry engine cleaning. Being aware of these pitfalls can save you from potential headaches.
- Direct Water Spray: The most significant mistake is using a hose or pressure washer directly on the engine. This risks water entering electrical components, causing corrosion or short circuits.
- High-Pressure Air Too Close: While compressed air is useful, aiming a high-pressure stream too closely at delicate parts can dislodge wires, damage sensors, or force dust into areas that are harder to clean.
- Neglecting Battery Disconnection: Failing to disconnect the battery before working in the engine bay poses an electrical shock hazard and risks accidental short circuits.
- Skipping Component Covers: Not covering the alternator, fuse box, or air intake can lead to dust and debris entering these critical systems, potentially causing operational issues.
- Cleaning a Hot Engine: Cleaning a hot engine can cause cleaners to evaporate too quickly, leaving residues, or even warp certain plastic components due to rapid temperature changes.
Verifying Your Pristine Engine Bay
After completing the dry cleaning process, a final verification ensures everything is in order before starting the vehicle.
- Thorough Visual Inspection: Carefully inspect the entire engine bay for any remaining dust, debris, or cleaning residues. Pay close attention to areas around electrical connections and sensors.
- Component Re-Securing: Ensure all plastic covers, caps, and electrical connectors are properly seated and secure.
- Removal of Covers: Double-check that all plastic sheeting or bags used to cover sensitive components have been removed.
- Battery Reconnection: Reconnect the negative battery terminal securely.
- Initial Start-Up Check: Start the engine and allow it to run for a few minutes. Listen for any unusual noises and check the dashboard for any warning lights that might indicate an issue.


Comments
Post a Comment