
The Frustration of Hazy Instrument Panels
A clear view of your vehicle's instrument cluster is fundamental for safe driving, yet many car owners encounter the common issue of a foggy, scratched, or hazy plastic lens. This degradation often results from improper cleaning techniques, harsh chemicals, or prolonged exposure to UV radiation, making gauges difficult to read and detracting from the interior's overall appearance. Addressing this requires a methodical approach, focusing on gentle methods and appropriate products to restore clarity without inflicting further damage.
Key Takeaways
- Always use gentle, dedicated automotive interior cleaning products formulated for plastics.
- Employ plush, edgeless microfiber cloths to prevent micro-scratches.
- Apply cleaning solutions to the cloth first, never directly onto the instrument cluster.
- Utilize light pressure and straight-line wiping motions for optimal results and scratch prevention.
Essential Gear for a Clear View
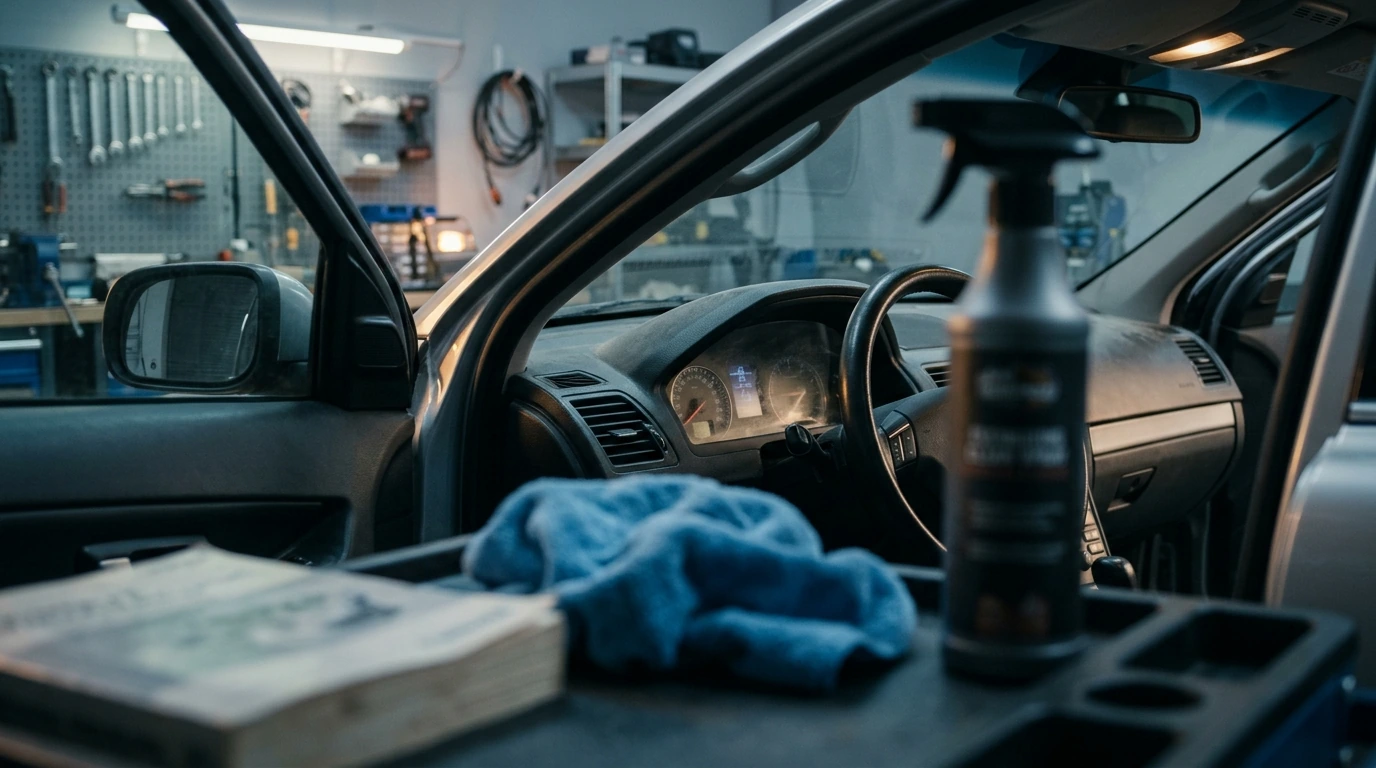
Before beginning any cleaning process, gathering the correct tools and materials is paramount. Using household cleaners or abrasive cloths can permanently damage the delicate plastic surface, leading to more extensive repairs. Here's what you'll need:
- Soft-Bristle Detailing Brush: For initial dust and debris removal.
- Compressed Air or Vacuum with Brush Attachment: To dislodge loose particles from crevices.
- Dedicated Automotive Interior Cleaner: A pH-neutral, plastic-safe formula is crucial. Avoid ammonia-based or harsh chemical cleaners.
- Plush, Edgeless Microfiber Cloths (2-3): Opt for cloths with a high GSM (grams per square meter) for maximum softness and absorption.
- Distilled Water: For diluting cleaners if necessary, or for a final wipe.
- Optional: Plastic Polish/Scratch Remover: For addressing existing light scratches, ensure it's specifically for clear plastics.
PRO TIP: Choosing Your Microfiber
The quality of your microfiber cloth directly impacts the outcome. Look for cloths labeled as "edgeless" or "laser-cut" to minimize the risk of scratching. A higher GSM (e.g., 350-500 GSM) indicates a denser, softer fabric, ideal for delicate surfaces like instrument clusters.
Step-by-Step Restoration Process
Achieving a scratch-free, clear instrument cluster requires patience and precision. Follow these steps sequentially:
1. Initial Dust and Debris Removal
Begin by removing all loose dust, dirt, and debris. This is a critical first step to prevent these particles from being dragged across the plastic surface during cleaning, which would cause scratches.
- Using a soft-bristle detailing brush, gently sweep across the instrument cluster panel and surrounding crevices.
- Follow up with compressed air to blow out any stubborn dust from edges and gaps. Alternatively, use a vacuum cleaner with a soft brush attachment, ensuring the brush never directly touches the plastic, only hovering to suction debris.
- Use a clean, dry microfiber cloth to lightly dust the surface, using minimal pressure.
2. Gentle Cleaning Solution Application
The method of applying your cleaning solution is as important as the solution itself.
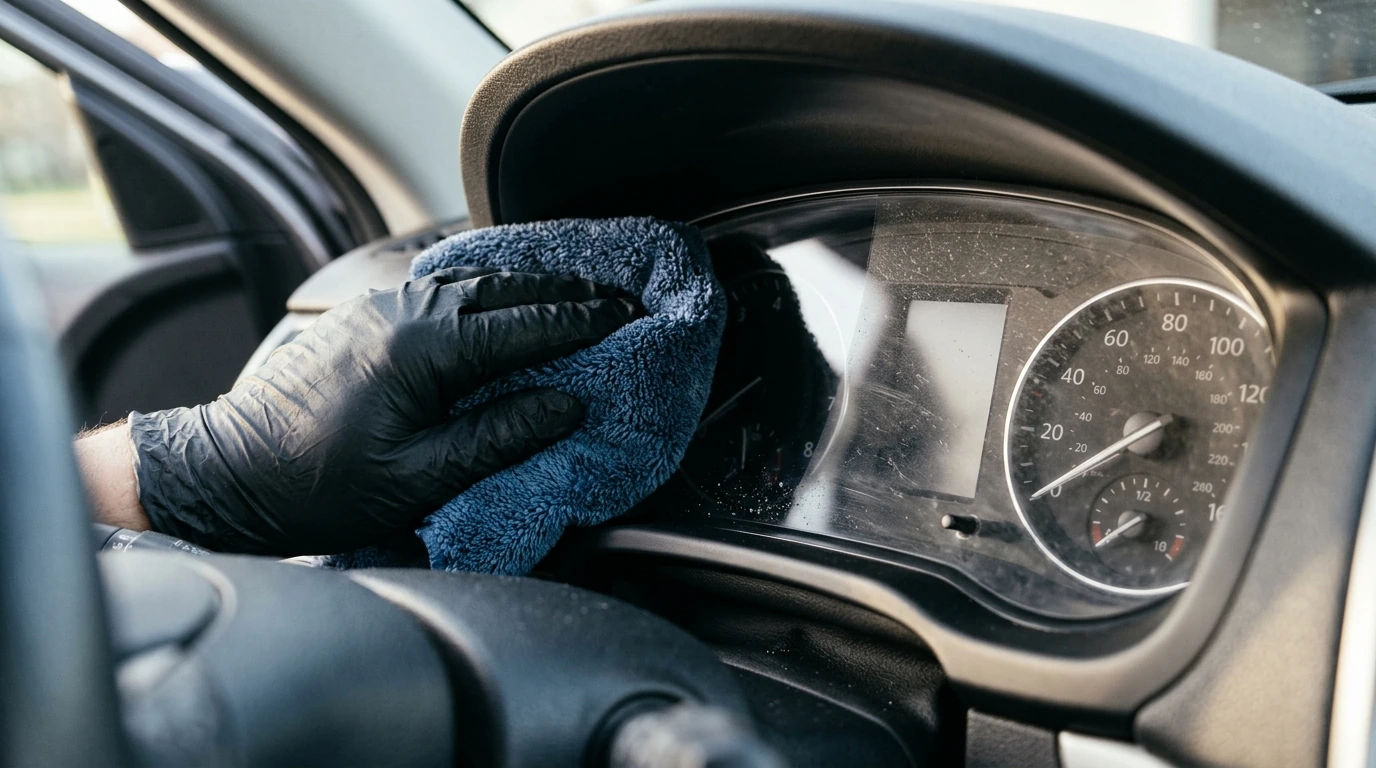
- Lightly mist your dedicated automotive interior cleaner onto one of your clean microfiber cloths. Do not spray directly onto the instrument cluster, as this can introduce moisture into electrical components or leave streaks.
- Ensure the cloth is damp, not saturated.
3. Careful Wiping Technique
This stage demands a light touch and a specific motion to avoid creating new scratches.
- Using the damp microfiber cloth, gently wipe the instrument cluster plastic in straight lines, moving from one edge to the other. Avoid circular motions, as these can create swirl marks that are more visible on clear plastic.
- Apply only the lightest pressure necessary. Let the cleaning solution and the microfiber do the work.
- Fold the microfiber cloth to a clean section frequently to avoid reintroducing dirt or contaminants onto the surface.
4. Final Buffing and Inspection
The final steps ensure a streak-free finish and allow for a thorough check of your work.
- With a second clean, dry, plush microfiber cloth, gently buff the surface in straight lines to remove any remaining moisture or streaks.
- If light scratches are present and you're using a plastic polish, apply a tiny amount to a fresh microfiber cloth and gently work it into the scratched area according to the product's instructions. Buff off any residue with another clean cloth.
- Inspect the cluster from various angles under different lighting conditions to ensure all haze and streaks are gone.
Avoiding Common Mistakes During Cleaning
Many common errors can lead to irreversible damage or unsatisfactory results when cleaning delicate clear plastics:
- Using Household Cleaners: Window cleaners containing ammonia or general-purpose household sprays can etch, cloud, or dry out automotive plastics. Always use products specifically formulated for car interiors and plastics.
- Employing Abrasive Materials: Paper towels, old rags, or low-quality microfiber cloths can be surprisingly abrasive, leaving fine scratches. Stick to high-quality, plush microfiber.
- Excessive Pressure: Rubbing too hard is a primary cause of scratches. Light, consistent pressure is key.
- Circular Wiping Motions: While common for waxing paint, circular motions on clear plastic can create visible swirl marks. Straight-line wiping is preferred.
- Spraying Directly on the Cluster: This risks overspray into electrical components or leaving streaks that are difficult to remove. Always spray onto your cloth first.
- Ignoring Initial Dust Removal: Attempting to wipe a dusty surface is essentially rubbing sandpaper on it. Thorough pre-cleaning is non-negotiable.
Ensuring Lasting Clarity
Once your instrument cluster is pristine, maintaining its clarity is straightforward. Regular, gentle dusting with a clean microfiber cloth can prevent dust buildup. Consider using a UV-protective interior dressing designed for plastics, applied sparingly to a cloth, to help shield against sun damage and reduce future fogging. Parking in the shade or using a sunshade also significantly mitigates UV exposure, preserving the plastic's integrity over time.
Frequently Asked Questions About Cluster Care
- Q: Can I use glass cleaner on my instrument cluster?
- A: No, most glass cleaners contain ammonia or other harsh chemicals that can damage the plastic, causing it to haze, crack, or become brittle over time. Stick to dedicated automotive interior cleaners.
- Q: How often should I clean my instrument cluster?
- A: A light dusting can be done weekly or bi-weekly. A more thorough cleaning, as described, is typically needed every few months or when visible haze or grime accumulates.
- Q: What if my instrument cluster has deep scratches?
- A: For deep scratches, a plastic polish or scratch remover specifically designed for clear automotive plastics might help, but results vary. In severe cases, the plastic lens may need professional restoration or replacement.
- Q: Does direct sunlight contribute to instrument cluster fogging?
- A: Yes, prolonged exposure to direct sunlight and UV rays can cause the plastic to degrade, leading to hazing or yellowing. Using a sunshade when parked can help prevent this.


Comments
Post a Comment