
Removing the tenacious combination of road tar and embedded dirt from motorcycle rims can often feel like a Sisyphean task. These contaminants, picked up from various road surfaces, not only detract from your bike's aesthetic appeal but can also, over time, contribute to material degradation if left unchecked. Fortunately, achieving spotless rims doesn't always necessitate expensive, specialized detailing services or high-end chemical concoctions. A strategic approach utilizing readily available and inexpensive spray solutions can yield impressive results.
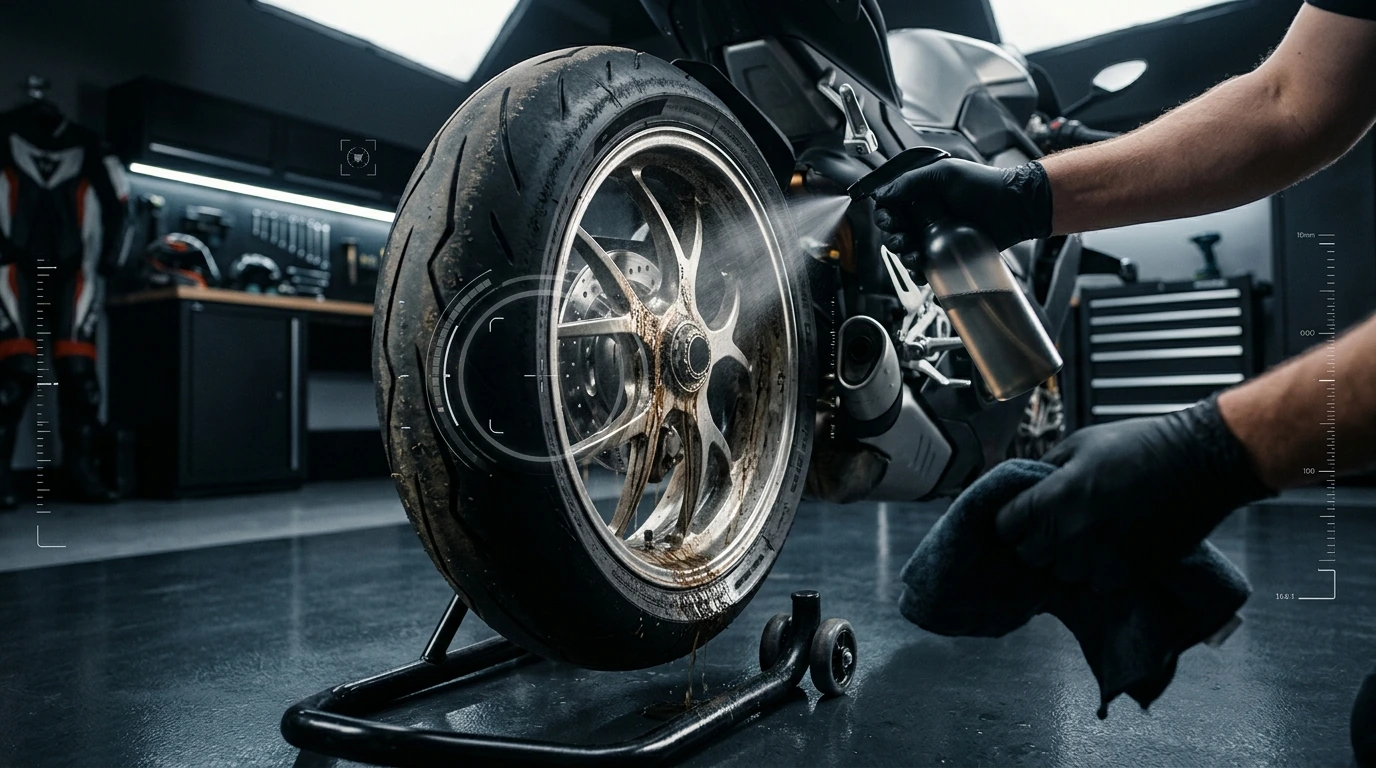
The Quick Path to Cleaner Rims
For motorcycle owners aiming to maintain pristine rims without breaking the bank, the judicious application of inexpensive, targeted spray cleaners offers a highly effective solution. This method leverages common chemical properties to safely dissolve and lift stubborn road tar and entrenched dirt, making it accessible for regular maintenance. The key lies in selecting the right product for the job and adhering to a methodical cleaning process to protect the rim's finish while achieving a deep clean.
Understanding the Adversaries: Tar, Dirt, and Rim Materials
Road tar, a petroleum-based residue, adheres tenaciously to surfaces, while general road dirt often contains abrasive particles and oily grime. The challenge intensifies when these contaminants accumulate on various motorcycle rim materials, each with its own sensitivities:
- Aluminum Alloy Rims: Commonly found, these can be polished, painted, or clear-coated. They are generally robust but can suffer from oxidation if protective layers are compromised.
- Chrome Rims: Valued for their mirror-like finish, chrome requires gentle handling to prevent scratching and pitting, which can lead to rust if the underlying steel is exposed.
- Painted Rims: These are susceptible to chemical etching if strong, incompatible cleaners are used. The paint's integrity is paramount for both aesthetics and protection.
- Anodized Rims: Often seen on performance bikes, anodized finishes are durable but can be discolored by harsh acids or strong alkaline solutions.
Understanding the material is crucial, as it dictates the types of inexpensive sprays that can be safely employed without causing damage.
Essential Inexpensive Sprays for Effective Cleaning
Several types of readily available and affordable spray products demonstrate excellent efficacy against road tar and dirt:
- Bug and Tar Removers: These products are specifically formulated with petroleum distillates or citrus-based solvents designed to break down hydrocarbon compounds like tar. They are typically safe for most automotive finishes when used as directed.
- All-Purpose Cleaners (APCs): Many automotive-grade APCs, especially those that are pH-neutral or mildly alkaline, are excellent at dissolving general road grime, brake dust, and oily residues. Dilution ratios are critical here to ensure safety for various finishes.
- Degreasers: Stronger than APCs, dedicated automotive degreasers are highly effective against heavy oil, grease, and tar. However, their potency means they often require careful application and immediate rinsing, particularly on painted or anodized surfaces, to avoid stripping waxes or causing discoloration.
When selecting, always check the product's label for compatibility with painted, clear-coated, or polished aluminum surfaces. For instance, some heavy-duty degreasers might be too aggressive for delicate finishes.
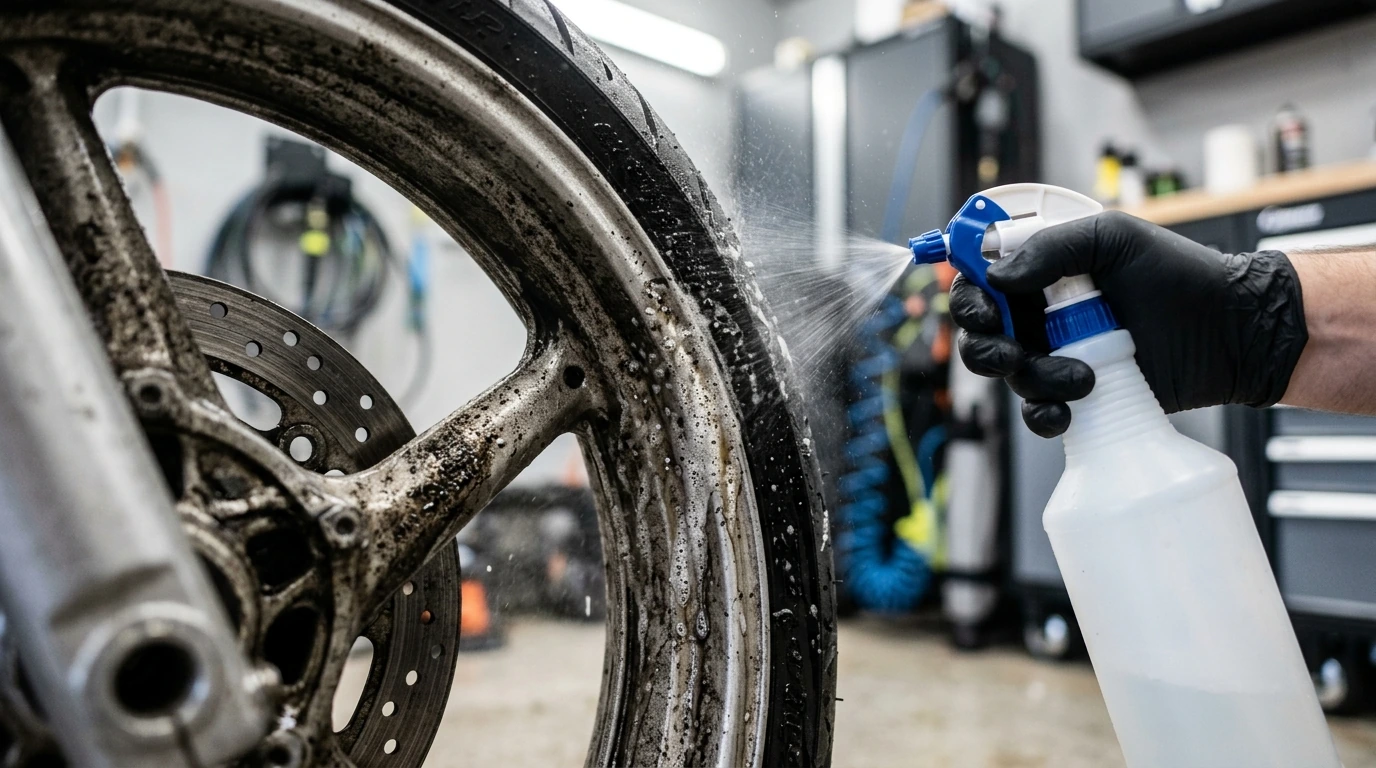
A Step-by-Step Approach to Spotless Rims
Achieving a thorough clean requires more than just spraying and wiping; a systematic approach ensures both effectiveness and safety for your motorcycle's rims.
Step 1: Initial Rinse and Preparation
Begin by rinsing the entire rim thoroughly with a strong stream of water. This removes loose dirt, dust, and any abrasive particles that could scratch the finish during subsequent cleaning. Ensure the rim is cool to the touch before applying any chemical cleaners, as hot surfaces can cause products to dry too quickly or become more aggressive.
Step 2: Targeted Spray Application
Once rinsed, apply your chosen inexpensive spray directly to the tar and dirt spots. For bug and tar removers, allow the product to dwell for the time specified by the manufacturer, typically 30 seconds to a few minutes, allowing it to penetrate and break down the contaminants. For APCs or degreasers, spray evenly and let them work for a shorter period, often less than a minute, especially if they are more potent. Avoid letting any product dry on the rim surface.
Step 3: Agitation and Final Rinse
Using a soft-bristle brush, a dedicated wheel brush, or a microfiber towel, gently agitate the areas where the product has been applied. For stubborn tar spots, a dedicated detailing brush or even a plastic trim tool (used very carefully) can help lift the residue. After agitation, thoroughly rinse the rim again with water to remove all cleaning solution and loosened grime. Inspect the rim for any missed spots and repeat the process if necessary. Finish by drying the rims with a clean microfiber towel to prevent water spots.
Pro Tip: Test in an Inconspicuous Area
Before applying any new cleaning spray to your entire rim, always perform a small spot test on an inconspicuous area. This crucial step helps confirm compatibility with your rim's specific finish and prevents potential discoloration or damage.
Advantages and Practical Limitations of Budget Cleaning
The approach of using inexpensive sprays for rim cleaning offers several compelling advantages:
- Cost-Effectiveness: The primary benefit is significantly lower cost compared to professional detailing services or premium, highly specialized wheel cleaners.
- Accessibility: These products are widely available at automotive stores, supermarkets, and online retailers, making them easy to acquire.
- Targeted Action: Many inexpensive sprays are formulated to specifically tackle tar and grease, providing efficient removal of these particular contaminants.
However, there are also practical limitations to consider:
- Aggressiveness Concerns: Some budget degreasers or tar removers can be more aggressive than high-end, pH-balanced wheel cleaners. This necessitates careful use and thorough rinsing to prevent damage to delicate finishes, sealants, or waxes.
- Labor Intensive: While effective, this method often requires more manual agitation and attention to detail than some advanced, "spray-on, rinse-off" wheel cleaners that are designed for heavy brake dust and grime.
- Not a "One-Size-Fits-All" Solution: While good for tar and dirt, these sprays might not be the optimal choice for heavy brake dust accumulation or iron decontamination, which often require specific iron-removing wheel cleaners.
Cost-Effective Clarity: Is This Method Right for Your Ride?
For the vast majority of motorcycle enthusiasts, utilizing inexpensive sprays to combat road tar and general dirt on rims is a highly practical and financially sensible strategy. This method is particularly well-suited for riders who regularly encounter tar-laden roads or who prefer a hands-on approach to their bike's maintenance. It's an ideal choice for those who value cost-efficiency and are willing to invest a little time and effort in the cleaning process.
While it may not replace the need for specialized iron removers for persistent brake dust on some wheels, it stands as an excellent primary solution for the common grime challenges. By carefully selecting the right product for your rim type and following a diligent cleaning regimen, you can consistently achieve sparkling clean motorcycle rims without the premium price tag.


Comments
Post a Comment