
That persistent, high-pitched wind whistle intruding on your car's cabin can transform a peaceful drive into an irritating experience. Often, this unwelcome noise originates from dried, stiff, or dirty rubber weatherstripping around doors, windows, and the trunk. Over time, these seals lose their pliability and effectiveness, creating tiny gaps that allow air to rush in and generate that distinctive whistle. Restoring these critical components involves more than just a cursory wipe; it requires a detailed cleaning and conditioning regimen to bring back their original sealing properties.
Key Takeaways for Quieting Your Ride
- Regular Cleaning is Key: Dirt and grime degrade weatherstripping, leading to stiffness and poor sealing.
- Conditioning Restores Pliability: Specialized rubber conditioners prevent cracking and maintain the material's flexibility.
- Avoid Harsh Chemicals: Petroleum-based cleaners or solvents can damage rubber, accelerating its deterioration.
- Thorough Drying is Essential: Ensure all moisture is removed before applying conditioner to prevent trapping water and potential mold.
Pinpointing the Whistle and Assembling Your Kit
Before you begin any treatment, accurately identifying the source of the wind whistle is crucial. Drive at various speeds or have a passenger listen carefully while you're moving. Sometimes a simple visual inspection of the weatherstripping for cracks, tears, or compression marks can reveal the culprit. Once located, gather the necessary tools and materials to ensure a smooth process.
Required Prerequisites and Tools:
- Mild Car Wash Soap or pH-Neutral Cleaner: Specifically formulated for automotive use, avoiding harsh detergents.
- Soft Microfiber Cloths or Sponges: Multiple cloths for cleaning and drying.
- Clean Water: For rinsing.
- Rubber Conditioner/Protectant: A silicone-based or specialized rubber care product designed for automotive weatherstripping. Avoid products containing petroleum distillates.
- Detailing Brushes or Cotton Swabs: For reaching tight crevices.
- Optional: Compressed Air or Leaf Blower: For initial debris removal.
- Optional: Automotive Trim Removal Tools: If any weatherstripping needs temporary detachment for thorough cleaning.
A Step-by-Step Method for Weatherstrip Renewal
Addressing wind whistle effectively involves a methodical approach to cleaning and conditioning. Follow these steps to restore your vehicle's seals.
- Initial Inspection and Debris Removal: Begin by opening all doors, windows, and the trunk. Visually inspect the entire length of the weatherstripping. Use compressed air or a soft brush to dislodge any loose dirt, leaves, or trapped debris from the channels and surfaces.
- Gentle Cleaning: Mix your mild car wash soap or pH-neutral cleaner with water according to the product's instructions. Dampen a clean microfiber cloth or sponge with the solution and carefully wipe down the entire surface of the rubber weatherstripping. Pay close attention to corners, curves, and areas that appear particularly grimy. For stubborn dirt or tight spots, use a detailing brush or cotton swab dipped in the cleaning solution.
- Thorough Rinsing and Drying: After cleaning, use a separate, clean microfiber cloth dampened with plain water to wipe away any soap residue. It is critical to rinse thoroughly to prevent soap from drying on the rubber. Following rinsing, use several dry, clean microfiber cloths to meticulously dry the weatherstripping. Ensure no moisture remains trapped in crevices or under the seals. Allow the rubber to air dry completely for at least 30 minutes, or longer in humid conditions, before proceeding.
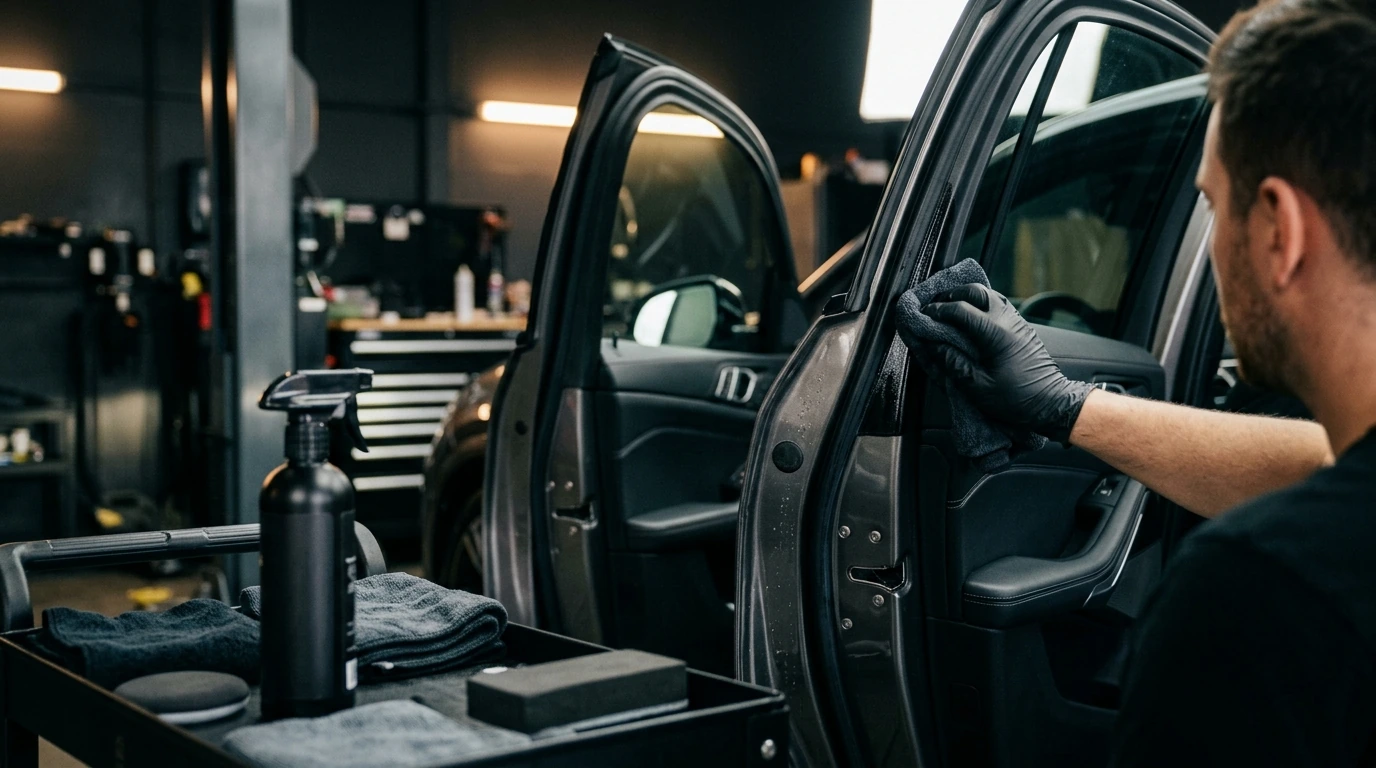
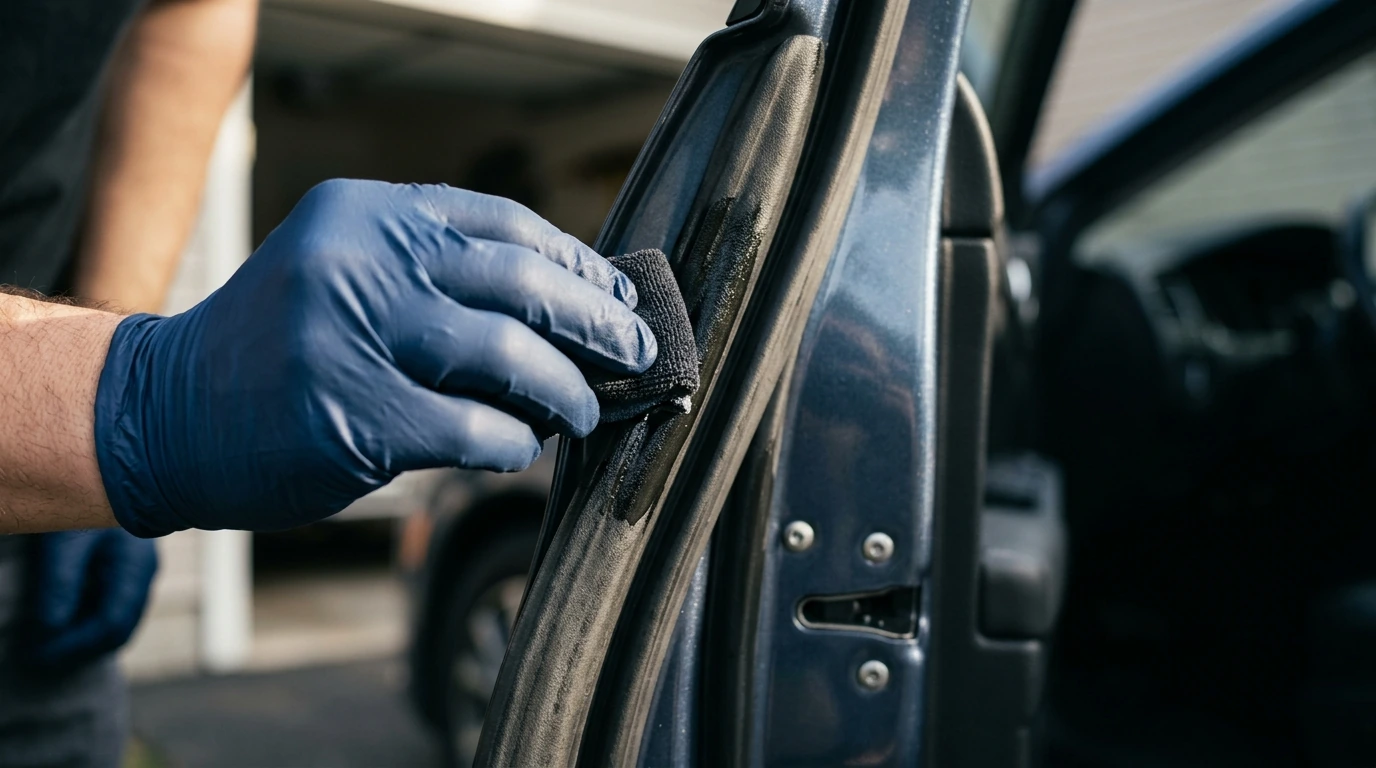
- Applying Conditioner: Once the weatherstripping is completely dry, apply a small amount of the rubber conditioner or protectant onto a fresh, clean microfiber cloth. Work the conditioner into the rubber using gentle, even strokes. The goal is to restore flexibility and create a protective barrier, not to saturate the material. Pay attention to areas that feel particularly stiff or brittle. Avoid getting conditioner on painted surfaces or glass.
- Buffing and Re-testing: After applying the conditioner, allow it to penetrate the rubber for a few minutes as per the product's instructions. Then, use a clean, dry microfiber cloth to lightly buff off any excess product, leaving a satin finish. Close all doors, windows, and the trunk, and take your vehicle for a test drive. Listen carefully for any remaining wind whistle. If a faint whistle persists, re-inspect the specific area and consider a second, light application of conditioner or a more focused cleaning.
Critical Missteps to Avoid During Treatment
While cleaning and conditioning weatherstripping is a straightforward task, certain errors can undermine your efforts or even cause damage.
PRO TIP: Always test any cleaning solution or conditioner on an inconspicuous area of the weatherstripping first. This ensures there are no adverse reactions like discoloration or material degradation before you treat the entire vehicle.
- Using Harsh Chemicals: Avoid petroleum-based cleaners, strong degreasers, or silicone sprays not specifically designed for automotive rubber. These can dry out, crack, or dissolve the rubber over time, worsening the problem.
- Over-saturating with Conditioner: Applying too much conditioner can leave a greasy residue that attracts dirt, or, in some cases, can make the rubber too soft, potentially affecting its seal. A thin, even coat is sufficient.
- Skipping the Drying Step: Applying conditioner to wet or damp weatherstripping can trap moisture, leading to poor adhesion of the product and potentially fostering mold or mildew growth.
- Ignoring Hidden Areas: Wind whistles often originate from less visible sections of weatherstripping, such as those inside door jambs or under trim pieces. A thorough job requires attention to these often-overlooked spots.
- Not Buffing Off Excess: Leaving excess conditioner on the surface can lead to a sticky finish that collects dust and grime, making the problem recur faster.
Verifying a Quiet and Secure Seal
After completing the cleaning and conditioning process, a final verification ensures your efforts have paid off and your car's cabin is now quieter.
Post-Implementation Verification Checklist:
- Test Drive Confirmation: Take your car for a drive, ideally on a highway or at speeds where the whistle was previously noticeable. Listen carefully for any lingering wind noise.
- Visual Inspection for Gaps: With doors and windows closed, visually inspect the weatherstripping from both inside and outside the vehicle. Look for any areas where the rubber might not be seating correctly against the body or glass, indicating a persistent gap.
- Check for Pliability: Gently press on the weatherstripping in various spots. It should feel supple and slightly resilient, not stiff or hard.
- Scent Check: Ensure there are no lingering chemical odors from the cleaning or conditioning products inside the cabin.
- Establish a Maintenance Schedule: To prevent future wind whistles, plan to clean and condition your vehicle's weatherstripping every 6 to 12 months, or more frequently if you live in extreme climates or dusty environments.


Comments
Post a Comment