
Finding sticky tree sap spots on your vehicle's pristine finish can be genuinely frustrating, especially when you know improper removal can lead to permanent clear coat damage. This pervasive natural adhesive, often from pine, oak, or maple trees, hardens quickly and bonds tenaciously to paint, posing a significant challenge for car owners aiming to maintain a flawless exterior.
The good news is that with the right approach and products, you can effectively dissolve and lift tree sap without resorting to harsh scraping or abrasive techniques that could compromise your paint's integrity. Understanding the nature of sap and preparing your workspace are the first crucial steps toward a successful, scratch-free removal.
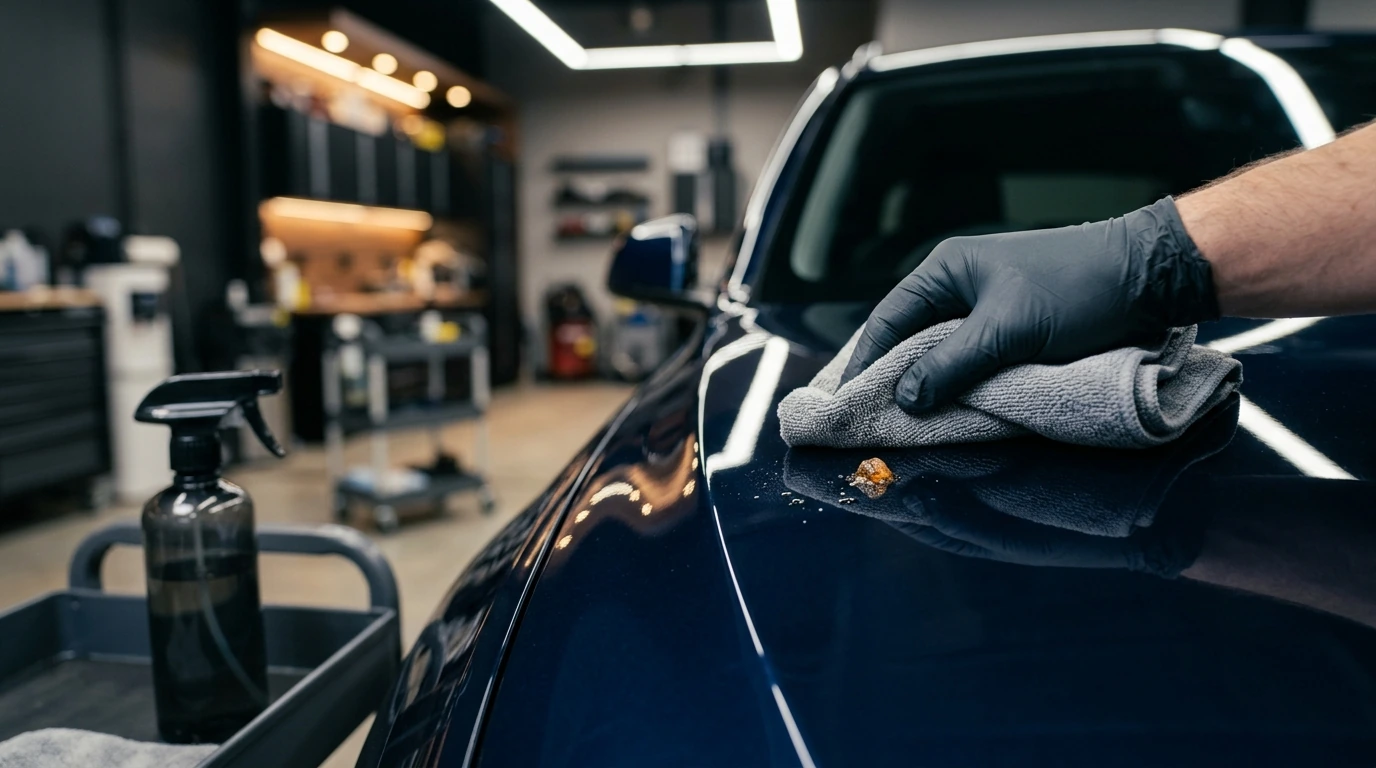
Understanding the Sap Challenge and Your Essential Toolkit
Tree sap is a complex organic compound, often containing sugars, resins, and other plant materials, which explains its sticky nature and ability to bond so tightly to automotive finishes. Over time, especially when exposed to sunlight, sap can bake onto the clear coat, making it even more difficult to remove and potentially etching into the paint surface if left too long. Speed is often a factor in preventing permanent damage.
Required Prerequisites and Tools Checklist:
- Clean Microfiber Towels: Several soft, high-quality towels dedicated to automotive use.
- Specialized Tree Sap Remover: Products formulated specifically for automotive finishes, available from reputable detailing brands.
- Isopropyl Alcohol (IPA): A 70% or 91% solution, used sparingly and as a last resort for very stubborn spots.
- Automotive Detailer Spray: For lubrication and final wipe-down.
- Car Wash Soap: A pH-neutral formula for pre-cleaning and post-removal wash.
- Two Buckets: One for wash solution, one for rinse water (with grit guards recommended).
- Warm Water: For initial washing.
- Latex or Nitrile Gloves: To protect your hands from chemicals and sap.
- Car Wax or Sealant: To re-protect the treated area.
Your Gentle Sap Removal Process
Approaching tree sap removal with patience and precision is key to preserving your vehicle's finish. Always work on a cool surface, out of direct sunlight, to prevent products from drying too quickly.
- Pre-Wash the Affected Area: Begin by thoroughly washing the section of your vehicle with sap using your standard car wash soap and warm water. This removes loose dirt and grime, preventing it from being rubbed into the paint during sap removal. Rinse thoroughly and gently pat dry with a clean microfiber towel.
- Test Your Chosen Remover: Before applying any product directly to a visible sap spot, test it on an inconspicuous area of your vehicle's paint, such as a lower door jamb or inside the fuel filler door. Apply a small amount and observe for any adverse reactions, like discoloration or dulling.
- Apply the Sap Remover: Dampen a clean microfiber towel with your chosen automotive tree sap remover or, if using IPA, sparingly apply it to a towel. Do not spray directly onto the paint.
- Gently Dab and Dwell: Place the dampened towel over the sap spot and allow it to dwell for 30 seconds to a minute. The goal is to soften the sap, not rub it immediately. For larger or older spots, you might need to repeat this step.
- Wipe Away with Minimal Pressure: After allowing the product to work, gently wipe the sap away using a clean section of the microfiber towel. Use light, circular motions. If the sap doesn't come off easily, re-apply the product and allow more dwell time. Avoid excessive scrubbing, which can create micro-scratches.
- Rinse and Re-Wash the Area: Once the sap is removed, immediately rinse the treated area with clean water to neutralize any remaining chemicals. Follow up with a quick wash using your pH-neutral car soap to ensure all residues are gone. Dry thoroughly with a fresh microfiber towel.
- Re-Protect the Paint: Since sap removers can strip existing wax or sealant, it is crucial to re-apply a layer of car wax or paint sealant to the treated area. This restores protection and helps prevent future sap adhesion.
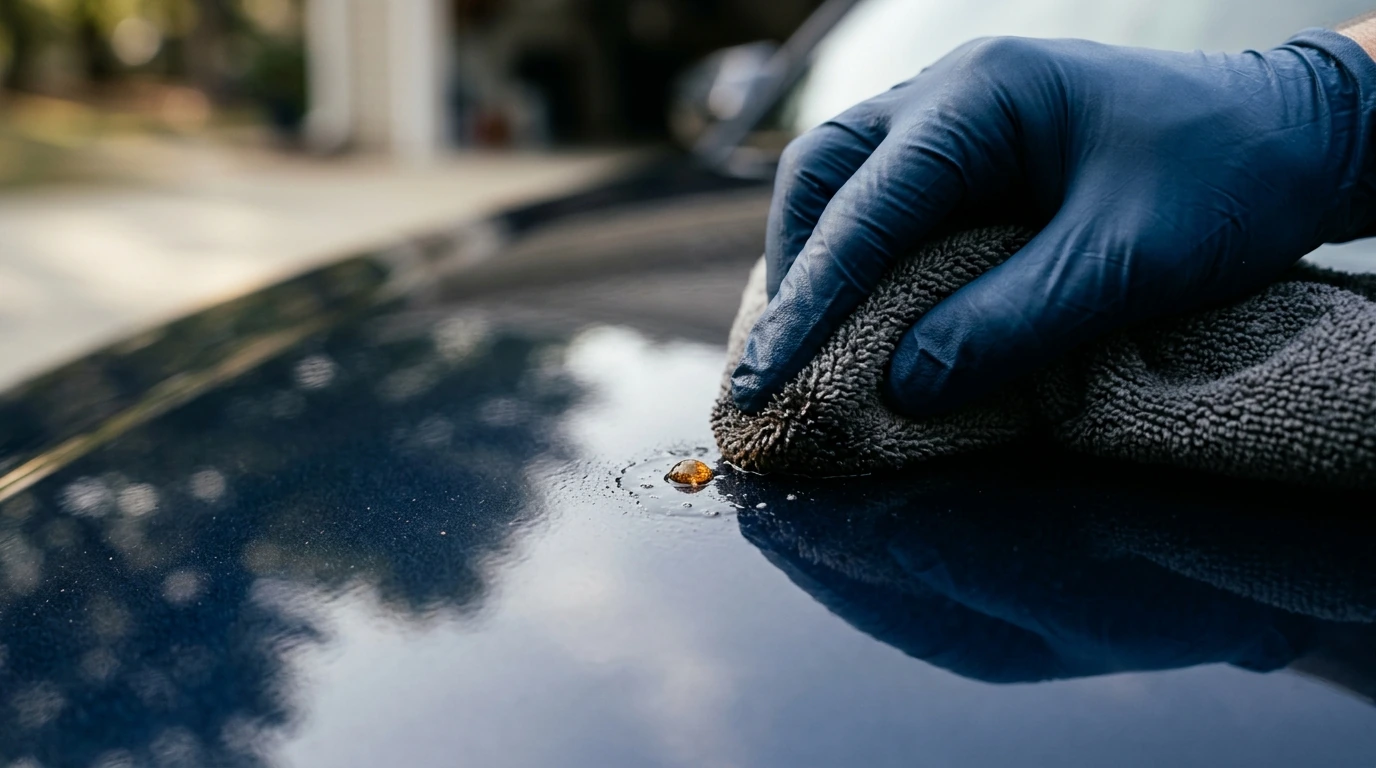
Mistakes to Avoid When Tackling Tree Sap
Even with the right tools, certain actions can turn a simple sap removal task into a costly paint repair. Being mindful of these common pitfalls will safeguard your vehicle's finish.
PRO TIP: Avoid Scratches at All Costs!
Never use abrasive materials like razor blades, credit cards, or rough cloths to scrape off sap. Always prioritize dissolving the sap with appropriate chemicals and gently wiping it away. Even a fingernail can leave a mark on soft clear coats if not used with extreme caution.
- Ignoring the Problem: Allowing sap to remain on your paint for extended periods, especially in hot weather, can cause it to etch into the clear coat, requiring professional paint correction.
- Using Household Cleaners: Products like nail polish remover (acetone), harsh detergents, or kitchen cleaners are often too aggressive for automotive paint and can cause permanent damage, dulling, or staining.
- Rubbing Too Hard: Excessive pressure or vigorous scrubbing can grind any remaining sap particles or even dust into the paint, leading to swirl marks and scratches.
- Working in Direct Sunlight: Heat accelerates the drying of cleaning products, potentially leaving streaks or allowing them to etch the paint. It also makes it harder to see the sap spots clearly.
- Forgetting to Re-Protect: Skipping the re-application of wax or sealant after removal leaves the treated area vulnerable to environmental contaminants and UV damage.
Ensuring a Flawless Finish After Sap Removal
After successfully removing the tree sap, a final inspection and protective measure are essential to ensure your vehicle looks its best and remains protected.
Post-Removal Verification Checklist:
- Thorough Visual Inspection: Carefully examine the treated area under good lighting from multiple angles to ensure all sap residue is gone and no new scratches or hazing have occurred.
- Smoothness Test: Gently run your clean, bare hand over the area. It should feel perfectly smooth, indicating no remaining sap particles or surface imperfections.
- Water Beading Check: After applying wax or sealant, spray a small amount of water on the treated area. The water should bead up tightly, confirming the protective layer has been successfully restored. If it sheets, re-apply your wax or sealant.
- Color Uniformity: Confirm that the paint color and gloss are uniform across the treated area and match the surrounding panels.
Frequently Asked Questions About Sap Removal
Is rubbing alcohol truly safe for car paint?
Isopropyl alcohol (IPA) at concentrations of 70% or 91% is generally considered safe for occasional, targeted use on automotive clear coats to remove stubborn contaminants like sap. However, it should be used sparingly, applied to a microfiber towel first (not directly to paint), and rinsed off quickly to prevent potential drying or dulling of the finish. Always follow up with a wax or sealant.
How long can tree sap stay on my car before it causes permanent damage?
The timeline for permanent damage varies depending on the type of sap, environmental conditions (especially heat and UV exposure), and the hardness of your clear coat. As a general guideline, sap left on paint for more than a few days to a week, particularly in hot, sunny climates, significantly increases the risk of etching and permanent clear coat damage. Prompt removal is always recommended.
Can I use a clay bar to remove tree sap?
While a clay bar is excellent for removing embedded contaminants, it may not be the most effective or safest first step for hardened tree sap. Large, hard sap deposits can be difficult for clay to lift and could potentially be dragged across the paint, causing marring. It's generally better to dissolve and soften the sap with a liquid remover first. A clay bar can then be used to address any remaining microscopic residue or other embedded contaminants after the bulk of the sap is gone.
What's the best way to prevent tree sap from sticking to my car?
The most effective prevention is to avoid parking under sap-producing trees. When that's not possible, maintaining a high-quality wax or sealant layer on your paint provides a sacrificial barrier, making sap removal much easier. Ceramic coatings also offer excellent protection against sap adhesion and etching, providing a very slick surface that minimizes bonding.


Comments
Post a Comment