
Key Takeaways
- Preparation is Key: Always start by dusting and vacuuming the interior to prevent scratching.
- Microfiber is Superior: Use two types of clean, high-quality microfiber cloths—one for cleaning, one for buffing.
- Avoid Ammonia: Ammonia-based cleaners can damage tinted windows and interior surfaces over time.
- Work in Sections: Clean windows in manageable sections, wiping immediately to prevent streaks.
Few things diminish driving pleasure quite like a greasy film and smudged fingerprints obscuring the view from inside your car's windows. This common nuisance, often a byproduct of daily commutes, snack runs, and passenger activity, can significantly impact visibility and the overall aesthetic of your vehicle's cabin. Restoring clarity to these surfaces requires a methodical approach, whether you opt for purpose-built automotive glass cleaners or effective homemade concoctions.
Understanding the Challenge: Why Interior Windows Get Grimy and What You'll Need
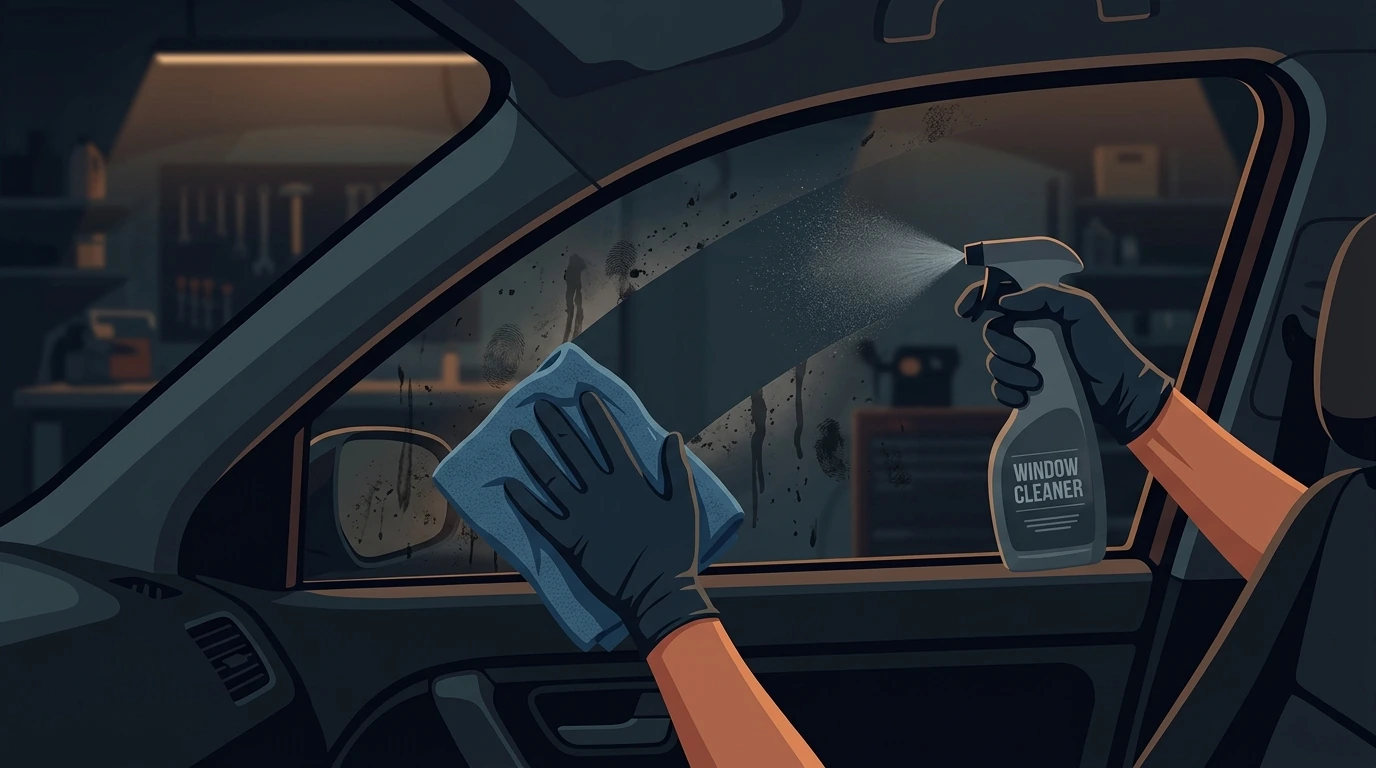
The interior of car windows accumulates a unique blend of contaminants. Beyond the obvious fingerprints and food residue, outgassing from plastics and vinyl in the dashboard and trim creates a hazy film over time. Smoke, pet dander, and general dust also contribute to this persistent grime. Addressing these layers effectively requires the right tools and a clear strategy.
Required Tools and Materials:
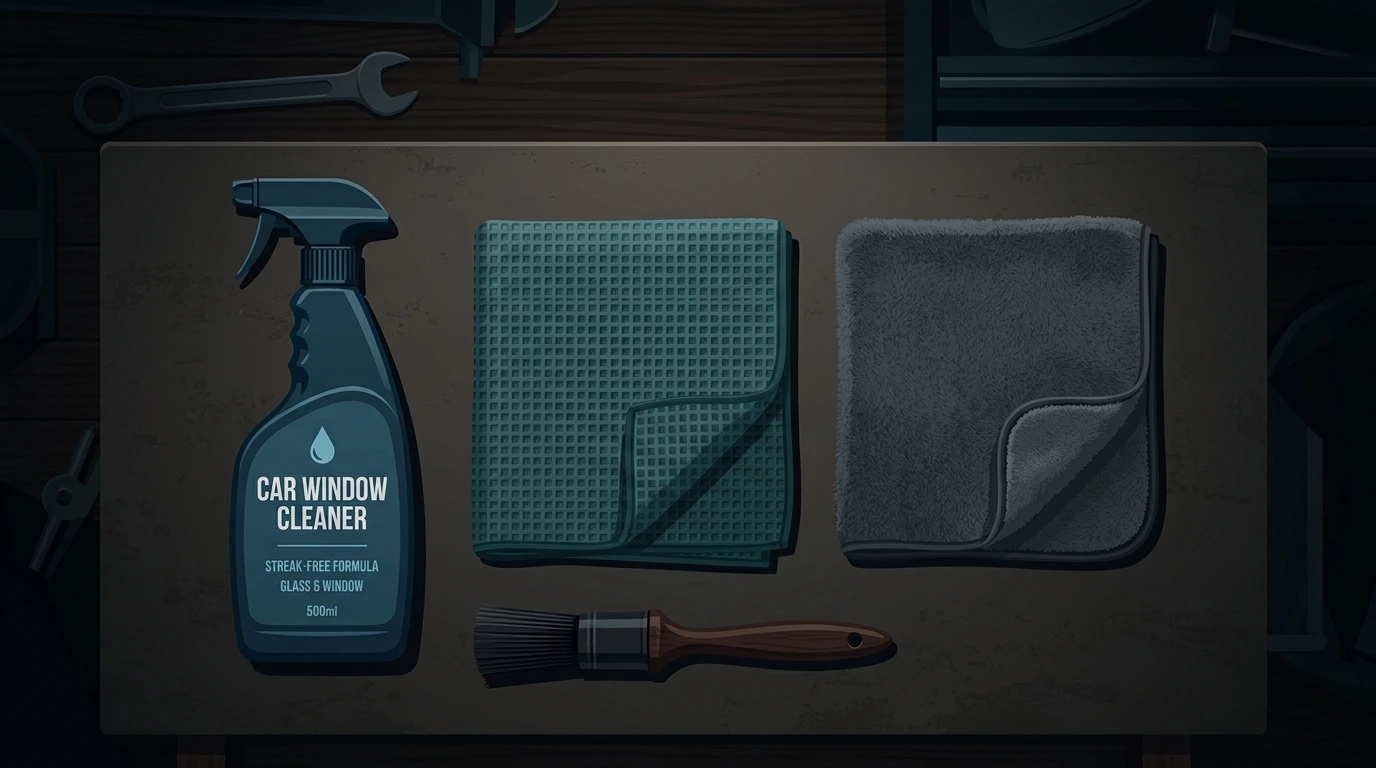
- Two High-Quality Microfiber Cloths: Crucial for streak-free results. Designate one for cleaning and one for buffing.
- Automotive Glass Cleaner (Ammonia-Free): Specifically formulated for vehicle interiors, safe for tints.
- OR DIY Cleaning Solution:
- Distilled Water (1 part)
- White Vinegar (1 part)
- Rubbing Alcohol (a few drops, optional, for extra degreasing)
- Detailing Brush or Soft-Bristle Brush: For dusting hard-to-reach corners.
- Vacuum Cleaner with Brush Attachment: To remove loose debris.
- Interior Cleaner/All-Purpose Cleaner: For surrounding trim if needed.
Your Step-by-Step Path to Crystal-Clear Glass
Achieving pristine interior windows involves more than just a quick wipe. Following a structured sequence ensures thorough cleaning and prevents common frustrations like streaks and lingering residue.
- Clear the Area: Remove any items from the dashboard, door panels, and rear deck that might obstruct access to the windows.
- Initial Dusting and Vacuuming: Use a soft-bristle brush or detailing brush to dislodge dust and debris from window edges and surrounding trim. Follow with a vacuum cleaner to remove loose particles. This prevents scratching the glass during cleaning.
- Prepare Your Cleaner: If using a DIY solution, mix distilled water and white vinegar in a spray bottle. Add a few drops of rubbing alcohol if tackling particularly stubborn grease. For commercial cleaners, ensure the nozzle is ready.
- Spray Sparingly on Cloth: Instead of spraying directly onto the glass, which can lead to overspray on interior surfaces, lightly mist your primary cleaning microfiber cloth. This allows for better control and prevents saturating the glass.
- Clean in Sections: Work on one window at a time, or even a section of a larger window. Wipe in overlapping, straight lines (either horizontal or vertical) to lift grime.
- Flip and Buff: Immediately after cleaning a section, use your second, dry microfiber cloth to buff the glass to a streak-free shine. Flip the cloth frequently to expose a clean, dry surface.
- Address Edges and Corners: Pay close attention to the edges where the glass meets the trim. These areas often harbor accumulated grime. You might need to fold your microfiber cloth into a precise edge or use a cotton swab for tight spots.
- Repeat if Necessary: For heavily soiled windows, a second application and buffing might be required.
Steering Clear of Streaks and Damage: Mistakes to Avoid
Many common errors can turn a simple window cleaning task into a frustrating experience, leaving behind unsightly streaks or even causing damage.
- Using Ammonia-Based Cleaners: These cleaners can degrade window tint films over time, causing them to bubble or peel. They can also dry out or damage vinyl, leather, and plastic interior components. Always opt for ammonia-free formulations.
- Cleaning in Direct Sunlight: The heat from direct sunlight causes cleaning solutions to evaporate too quickly, leaving behind streaks and residues before you have a chance to buff them away. Work in the shade or on a cloudy day.
- Spraying Directly on Glass: As mentioned, this leads to overspray, potentially staining or damaging sensitive interior materials like electronics, upholstery, or leather. Always apply cleaner to your cloth first.
- Using Dirty or Low-Quality Cloths: A dirty cloth will simply redistribute grime and leave lint. Low-quality cloths can shed fibers or scratch delicate surfaces. Invest in good automotive-grade microfiber.
- Over-Saturating the Glass: Too much cleaning solution makes it harder to buff away completely, resulting in streaks and a hazy finish. A little goes a long way.
- Forgetting the Edges: Grime loves to hide in the corners and along the seals. Neglecting these areas leaves a visible line of dirt, detracting from the overall clean.
PRO TIP:
To identify which side of the glass a streak is on (interior or exterior), wipe the inside horizontally and the outside vertically. This simple technique helps pinpoint the source of any remaining imperfections quickly.
Car Headrest Hooks look simple, but choosing the right ones makes all the difference for your bags →
Confirming Your Success: A Clear View Checklist
After completing the cleaning process, a quick verification ensures that your efforts have yielded truly spotless results.
- Inspect from Different Angles: Sit in various positions within the car and look at the windows from different angles. This helps reveal any subtle streaks or missed spots that might not be visible from a single viewpoint.
- Check in Various Lighting Conditions: Move the car into different lighting—direct sunlight, shade, and even artificial garage light. Streaks can appear differently under varying illumination.
- Run a Clean Microfiber Over the Surface: Gently rub a completely dry, clean microfiber cloth over the glass. If it glides smoothly without catching or leaving any new marks, the surface is clean. If it drags or picks up residue, a re-buffing or light re-clean might be needed.
- Verify Edge Cleanliness: Pay particular attention to the very edges of the glass, where it meets the door panel or dashboard. Ensure no grime lines remain.
This detailed approach to interior window cleaning ensures not only a clearer view but also contributes significantly to the overall cleanliness and appeal of your vehicle's cabin.


Comments
Post a Comment