
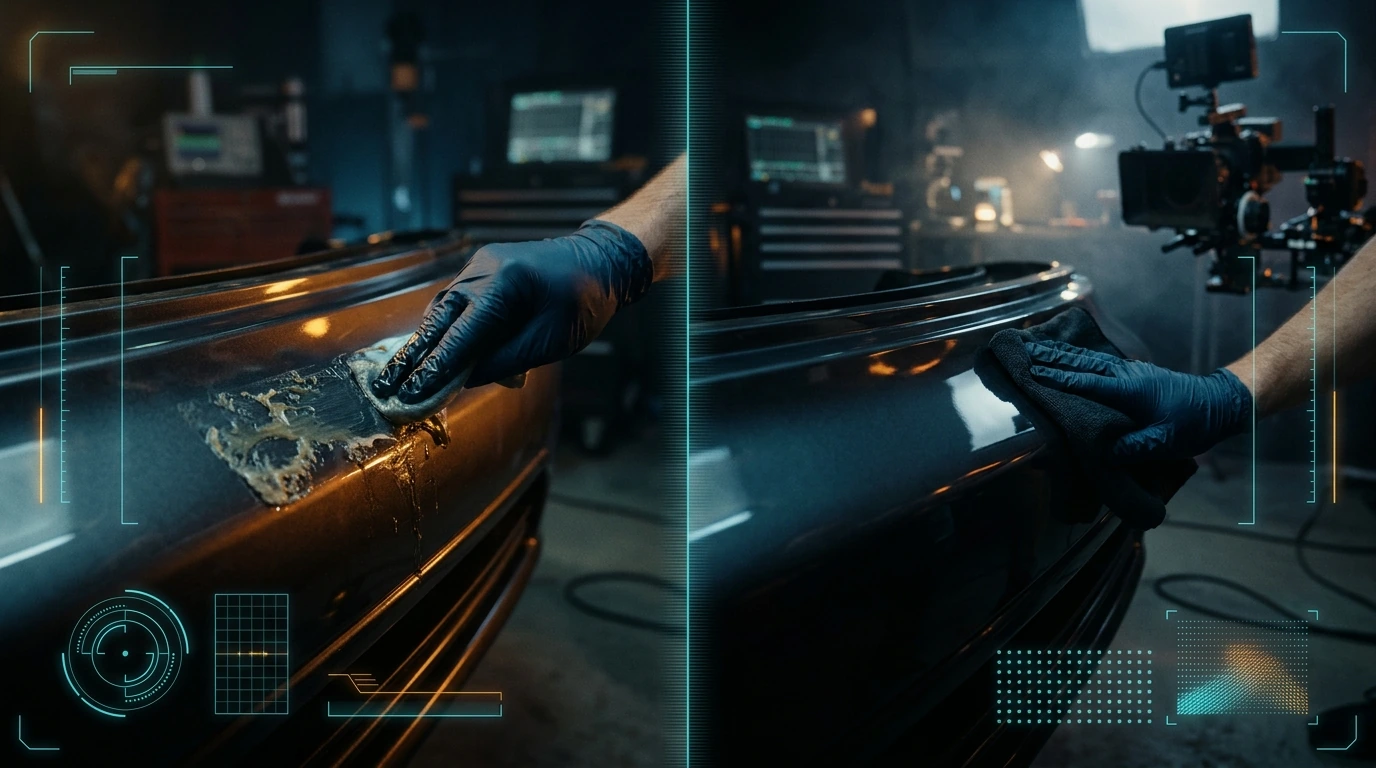
That persistent, sticky film left behind by an old bumper sticker can be one of the most frustrating blemishes on a vehicle's otherwise clean surface. After years of sun exposure and road grime, what was once a simple adhesive transforms into a stubborn, gummy mess that seems impervious to conventional cleaning methods. Fortunately, a solution often lies in common household rubbing oils, which can safely and effectively dissolve this residue without harming your vehicle's finish.
Key Takeaways
- Natural rubbing oils like olive or vegetable oil are effective and paint-safe for adhesive removal.
- Gentle application and sufficient dwell time are crucial for dissolving stubborn residue.
- Avoid harsh solvents or abrasive tools that can damage your vehicle's clear coat.
- Thorough post-treatment cleaning and waxing protect the treated area from future contamination.
The Lingering Adhesive Challenge and Your Toolkit
Bumper sticker adhesives are designed for durability, intended to withstand various weather conditions and road abuse. Over time, the sticker itself may degrade and peel away, but the adhesive layer often remains, baking onto the paint under UV light and becoming incredibly difficult to remove. Mechanical scraping can scratch the paint, and many chemical solvents are too aggressive for automotive finishes, potentially dulling the clear coat or even stripping paint.
Essential Supplies for Residue Removal:
- Rubbing Oil: Olive oil, vegetable oil, or even mineral oil are excellent choices. Their natural solvency helps break down petroleum-based adhesives without harsh chemicals.
- Soft Microfiber Cloths: Several clean, lint-free cloths are needed for application and wiping.
- Detailing Spray or Car Wash Soap: For pre-cleaning and post-treatment wipe-down.
- Warm Water: For rinsing and mixing with soap.
- Automotive Wax or Sealant: To re-protect the treated area.
- Plastic Scraper (Optional): A soft plastic razor blade or credit card edge, used with extreme caution if needed, to gently lift softened residue.
A Gentle Process for Erasing Sticky Marks
Removing adhesive residue effectively requires patience and a methodical approach. Rushing the process or using excessive force can lead to unintended damage to your vehicle's finish.
- Clean the Surrounding Area: Begin by thoroughly washing and drying the bumper area around the residue. This prevents any loose dirt or grit from being rubbed into the paint during the removal process. A good quality car wash soap and warm water are ideal.
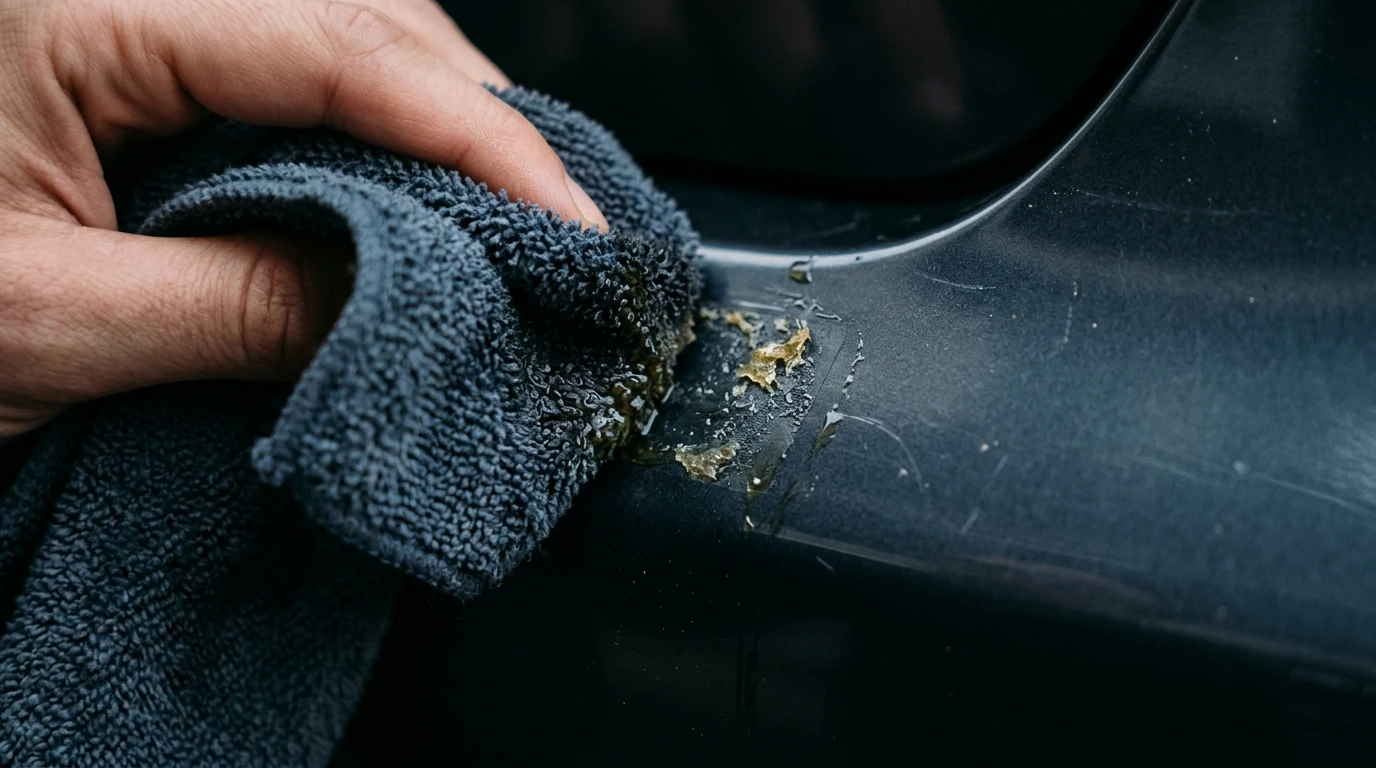
- Apply the Rubbing Oil: Dampen a corner of a clean microfiber cloth with your chosen rubbing oil. Gently dab and spread a thin, even layer of oil directly over the sticky residue. Ensure the entire affected area is covered.
- Allow for Dwell Time: This is a critical step. Let the oil sit on the residue for at least 5 to 10 minutes. For particularly stubborn or old adhesive, extend this to 15-20 minutes. The oil needs time to penetrate and begin breaking down the adhesive's bond.
- Gentle Rubbing and Lifting: After the dwell time, use a clean section of the oil-dampened microfiber cloth and gently rub the residue in small, circular motions. You should notice the adhesive starting to liquefy and ball up. Continue working in small sections, turning your cloth frequently to expose a clean surface. If necessary, reapply a small amount of oil. For very thick residue, a plastic scraper can be carefully used at a very shallow angle (almost flat) to gently push the softened adhesive, but always ensure the surface is well-lubricated with oil first.
- Final Clean-up and Protection: Once all visible residue is gone, use a fresh, clean microfiber cloth dampened with detailing spray or a mild car wash solution to wipe away any oily film. Follow up with a dry microfiber cloth to buff the area until it's clean and streak-free. Finally, apply a coat of automotive wax or sealant to the treated area. This step is crucial for restoring the paint's protection and sheen, as the oil may have temporarily stripped any existing wax.
Avoiding Common Missteps and Protecting Your Finish
While the oil-based method is generally safe, certain practices can compromise your vehicle's paintwork. Awareness of these pitfalls is key to a successful, damage-free removal.
- Aggressive Scraping: Never use metal razors, abrasive pads, or excessive force. Even a plastic scraper should be used with extreme caution and only after the adhesive has significantly softened.
- Harsh Chemical Solvents: Avoid acetone, paint thinners, or industrial-strength degreasers unless specifically formulated as automotive-safe adhesive removers. These can damage clear coats, etch plastic, or strip paint.
- Insufficient Dwell Time: Impatience often leads to over-scrubbing. Give the oil adequate time to work its magic.
- Ignoring Post-Treatment Protection: Skipping the re-waxing step leaves the paint vulnerable to UV damage and environmental contaminants.
PRO TIP: Test a Small Area First
Before applying any product, including natural oils, to a prominent area, always test it on an inconspicuous spot of your vehicle's paint (e.g., inside the door jamb or a lower bumper section). This verifies compatibility and ensures no adverse reactions occur, especially on older or repainted finishes.
Verifying a Flawless, Residue-Free Surface
After the removal process, a quick inspection ensures that all adhesive is gone and the paint is protected. This verification step is crucial for long-term satisfaction.
- Visual Inspection: Examine the treated area under different lighting conditions. Look for any lingering hazy spots, streaks, or faint outlines of the sticker.
- Tactile Check: Gently run your fingertips over the area. It should feel smooth and uniform, with no tacky or rough patches indicating residual adhesive.
- Water Beading Test: Spray a small amount of water onto the area. If the water beads up evenly, your wax or sealant application is effective. If it sheets or soaks in, reapply wax.
- Microfiber Wipe Test: Wipe a clean, dry microfiber cloth over the area. If it snags or drags, there might still be some adhesive or residue present that needs further attention.
By following these steps, you can effectively eliminate stubborn bumper sticker residue, restoring your vehicle's exterior to a clean, smooth, and protected finish without resorting to harsh chemicals or abrasive methods.


Comments
Post a Comment