
Maintaining clear, stable rearward visibility is a fundamental safety requirement for any motorcycle rider, with industry standards often emphasizing the critical role of properly adjusted and secured mirrors. A loose mirror, prone to vibration or shifting, compromises this safety by reducing a rider's awareness of their surroundings.
Key Takeaways
- Quick Fix Potential: Many loose mirrors can be tightened with basic tools, saving time and money.
- Safety First: A secure mirror is crucial for clear rearward visibility and accident prevention.
- Identify the Cause: Distinguish between a simple loose bolt and damaged threads or components.
- Threadlocker Advantage: Using a mild threadlocker can prevent future loosening from vibrations.
Addressing Mirror Wobble: Quick Fix or Deeper Issue?
This guide addresses the common nuisance of a loose motorcycle mirror, offering a practical DIY solution for riders who prefer to handle minor maintenance. It's best suited for those experiencing mirrors that simply vibrate or sag due to a loosened mounting bolt or pivot point, requiring only basic tools and mechanical aptitude. Riders facing mirrors with stripped threads, cracked housings, or severely bent stems should likely skip this DIY approach, as it requires component replacement or professional repair. The single biggest trade-off for a DIY tightening is that it's often a temporary fix if the underlying cause isn't just a loose bolt, but rather worn components or persistent vibration.
Understanding Why Mirrors Loosen
Motorcycle mirrors are subjected to constant vibration, wind forces, and occasional minor impacts, all of which can gradually loosen their mounting hardware. Most mirrors attach to the handlebars via a clamp or directly into a threaded perch. Over time, the bolts securing these connections can back out, leading to instability. The design of many mirrors includes a ball-and-socket or pivot mechanism, which also relies on tension to hold its position. When this tension slackens, the mirror glass itself can become floppy, even if the main stem is secure.
Essential Tools for Mirror Tightening
Effectively securing a loose motorcycle mirror often requires a specific set of tools and materials. Understanding their purpose is key to a successful, lasting fix.
-
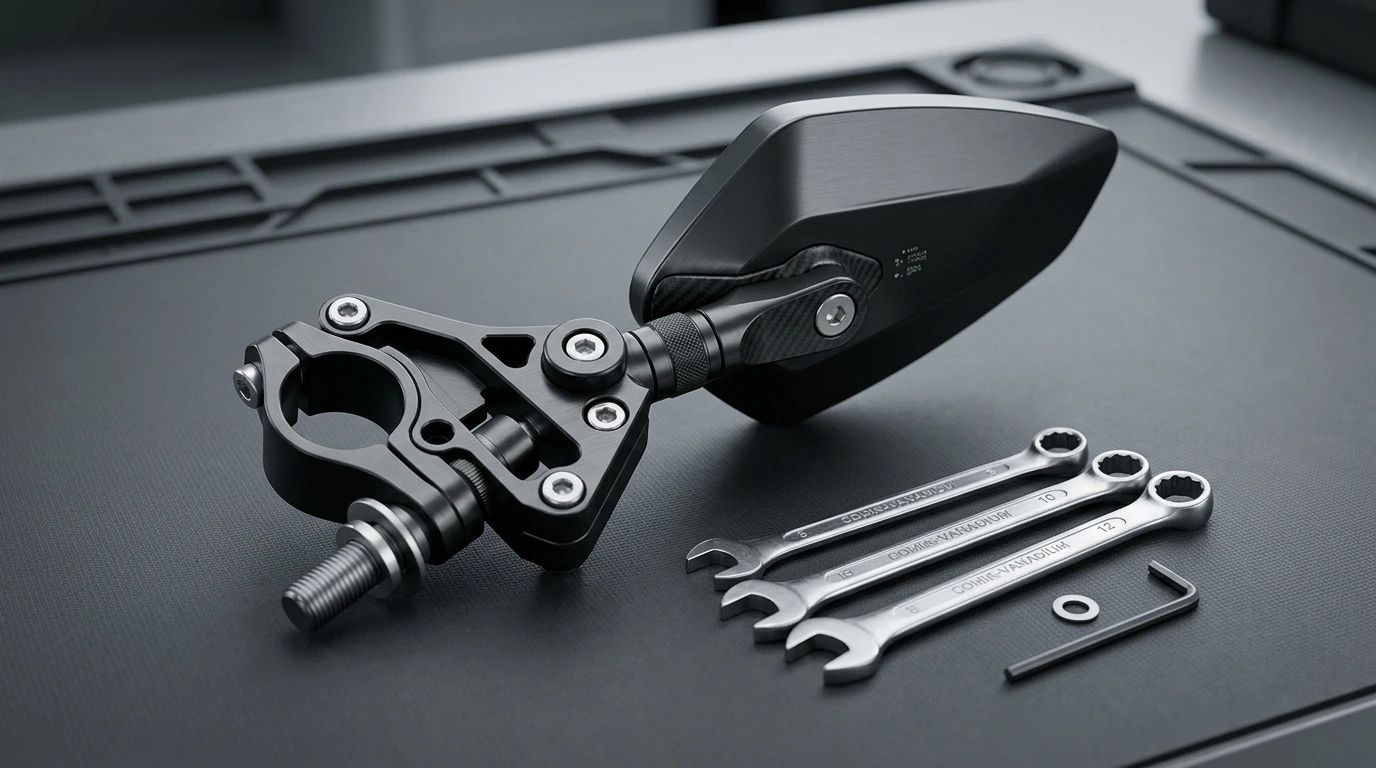
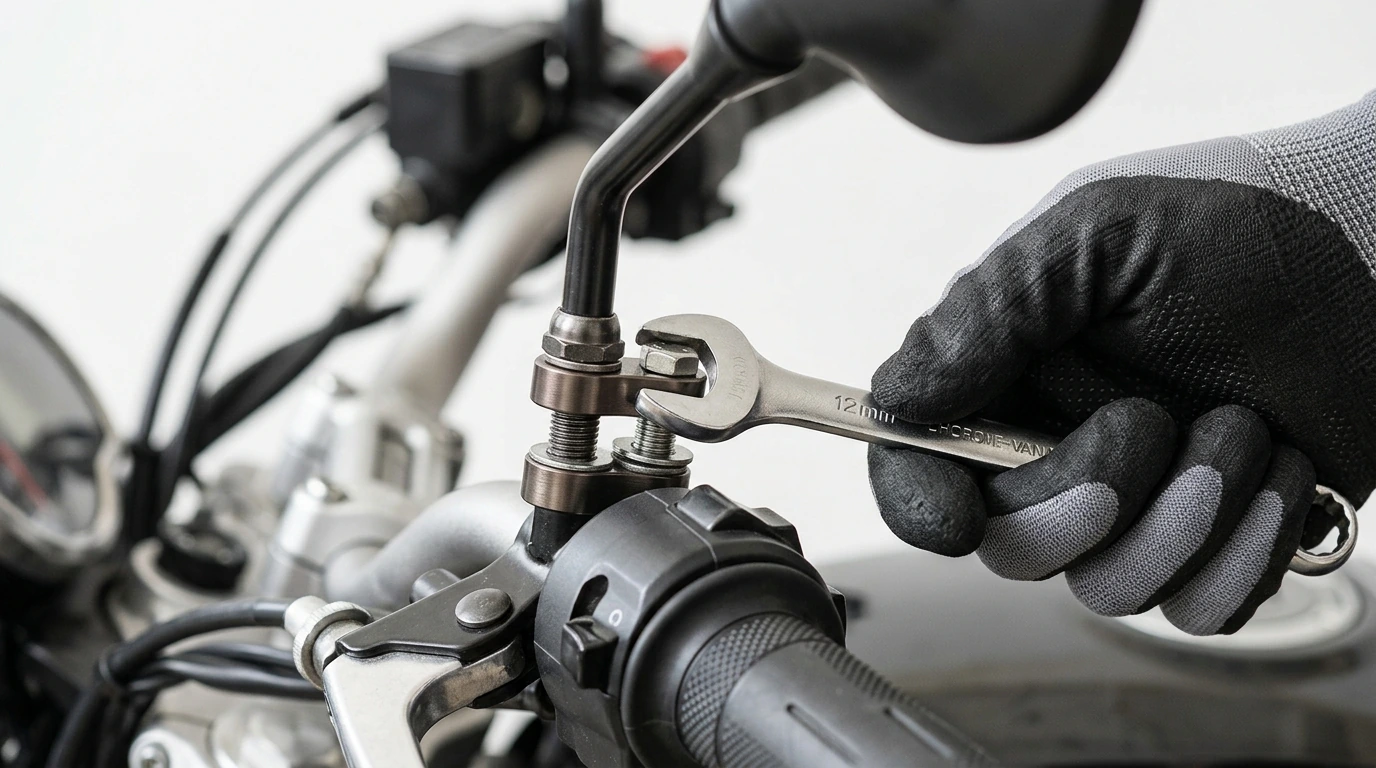
Open-End or Box-End Wrenches: These are fundamental for gripping the hex nuts or bolts that secure the mirror stem to the handlebar perch or the mirror head to its stem. Different motorcycles use various sizes, typically 10mm, 12mm, 14mm, or 17mm. Using the correct size prevents rounding off fasteners. This is a strength for most DIYers as these are common household tools. Riders who don't have a basic wrench set might find this a minor hurdle.
-
Allen Keys (Hex Wrenches): Many modern motorcycle mirrors and their clamps utilize internal hex bolts. A set of metric Allen keys (e.g., 4mm, 5mm, 6mm) will be necessary. Like open-end wrenches, using the correct size is crucial to avoid stripping the bolt head. This is neutral for most users, as Allen key sets are also quite common.
-
Phillips Head or Flathead Screwdriver: Some mirror designs incorporate small screws for adjusting the mirror's housing or specific pivot points, though this is less common for the primary loosening issue. Having them on hand ensures readiness for any design. This is generally a neutral requirement, as screwdrivers are ubiquitous.
-
Blue Threadlocker (e.g., Loctite 242): This medium-strength anaerobic adhesive is applied to threads to prevent fasteners from loosening due to vibration. It cures in the absence of air and is removable with standard hand tools. This is a significant strength, as it adds a layer of security against future loosening. It's particularly beneficial for riders who experience persistent mirror wobble. Ensure it's 'blue' (medium strength) and not 'red' (permanent). This is a 'plus' for anyone seeking a more durable fix.
Step-by-Step Mirror Adjustment Guide
Addressing a loose mirror typically involves identifying the specific point of slack and applying the correct tension. Here’s how to approach it:
-
Identify the Loose Point: Gently wiggle the mirror. Does the entire stem move at the handlebar? Or does just the mirror head wobble on its stem? This will tell you which bolts to focus on.
-
Gather Tools: Based on your mirror's fasteners, select the appropriate wrench or Allen key. Have your blue threadlocker ready if you choose to use it.
-
Tighten the Main Mounting Bolt: If the entire mirror stem is loose, locate the large nut or bolt at the base of the mirror where it connects to the handlebar perch. Often, there's a locknut that needs to be held stationary while the main bolt is tightened. If accessible, remove the bolt, apply a drop of blue threadlocker to the threads, then reinsert and tighten it firmly. Do not overtighten, as this can strip threads or crack components.
-
Adjust the Mirror Head Pivot: If only the mirror glass or head is loose, look for a smaller bolt or screw on the underside or back of the mirror housing. This usually controls the tension of the ball-and-socket joint. Tighten this bolt gradually until the mirror holds its position but can still be adjusted by hand with moderate force. Again, threadlocker can be used on these smaller bolts if they are prone to loosening.
-
Final Check: Once tightened, adjust the mirror to your preferred viewing angle. Take the motorcycle for a short, cautious ride to confirm it holds its position and doesn't vibrate excessively. Re-check the tightness after the ride.
DIY Mirror Adjustment: The Upsides and Downsides
Opting to adjust your motorcycle mirror yourself offers distinct advantages and some inherent limitations.
Advantages
- Cost-Effective: Utilizing basic household wrenches and optional threadlocker is significantly cheaper than a shop visit or new mirror, directly linked to the minimal tool investment.
- Immediate Resolution: A loose mirror can be fixed quickly at home, restoring critical rearward visibility without waiting for an appointment, stemming from the simple nature of the adjustment.
- Enhanced Safety: A properly secured mirror, achieved through correct tightening and potentially threadlocker, directly improves rider safety by ensuring stable, reliable rear views.
- Empowering Skill: Successfully performing this simple maintenance task builds confidence in basic motorcycle care, directly related to the straightforward process of identifying and tightening bolts.
Limitations
- Temporary Fix Potential: If the loosening stems from worn internal components or stripped threads, merely tightening the bolt, even with threadlocker, will not provide a lasting solution.
- Risk of Overtightening: Without a torque wrench, there's a risk of overtightening fasteners, which can strip threads or crack plastic/metal components, a direct consequence of relying solely on feel.
- Incomplete Solution for Damage: This DIY method does not address physical damage like bent stems, cracked mirror housings, or deeply corroded fasteners, as it focuses only on securing existing components.
- Tool Dependency: While basic, the need for specific wrench or Allen key sizes means the fix is impossible without the correct tools, a direct limitation for those without a well-stocked toolbox.
When to Call a Professional or Replace Components
While a DIY adjustment is effective for many cases of simple loosening, there are scenarios where professional intervention or component replacement becomes necessary. If, after tightening, the mirror still wobbles or cannot hold its position, it often indicates stripped threads in the perch or on the mirror stem itself. Similarly, if the mirror housing is cracked, the glass is broken, or the stem is bent, no amount of tightening will fully restore function or safety. In these situations, consulting a mechanic or purchasing a replacement mirror assembly is the more prudent and ultimately safer course of action.
Assessing the Value of DIY Mirror Maintenance
The value of adjusting a loose motorcycle mirror yourself is high, primarily due to the minimal cost and immediate safety benefit. For the price of a basic wrench set and a small tube of blue threadlocker, riders can often resolve a common safety issue without professional labor costs. This approach maximizes the utility of existing components, extending their lifespan until more significant wear necessitates replacement. It's a prime example of preventative maintenance that pays dividends in both safety and savings.
Your Mirror Adjustment Decision
Buy if: Your motorcycle mirror is simply loose or vibrating due to a slack bolt or pivot, and you have basic hand tools available. This DIY approach offers a quick, cost-effective, and empowering solution.
Skip if: The mirror's threads are stripped, components are physically damaged (cracked, bent), or you lack the necessary tools and confidence. In these cases, professional repair or full component replacement is advisable for long-term safety and reliability.
This review is compiled from official specifications and widely reported user feedback rather than a personal lab test, and details can differ by region or variant.


Comments
Post a Comment