
Are your car headlights looking cloudy or yellow, dimming your night vision and the vehicle's aesthetic? This common issue, often mistaken for internal damage, can typically be resolved at home with readily available polishing compounds.
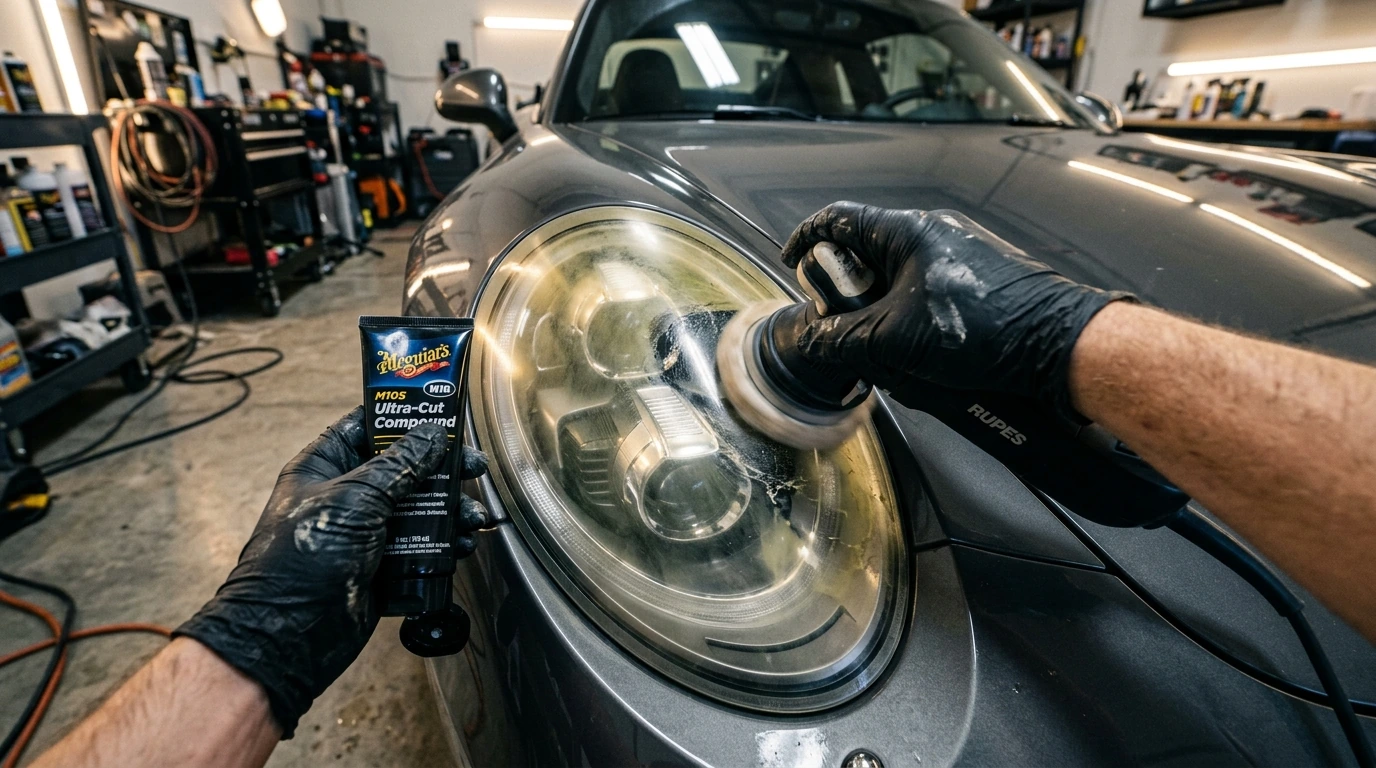
The Root Cause of Headlight Discoloration
Modern car headlight lenses are primarily made from polycarbonate plastic, chosen for its impact resistance and lightweight properties. Over time, however, this material is susceptible to environmental degradation. The primary culprits behind the yellowing and hazing are:
- UV Radiation: Prolonged exposure to ultraviolet (UV) rays from the sun breaks down the plastic's chemical bonds, leading to oxidation. This process causes the material to become opaque, brittle, and take on a yellowish tint.
- Environmental Contaminants: Road grime, exhaust fumes, acid rain, and harsh cleaning chemicals can accelerate the breakdown of the lens's protective clear coat, leaving the bare polycarbonate vulnerable.
- Abrasion: Tiny scratches from road debris, car washes, and even improper cleaning methods can create micro-fissures that refract light, contributing to a cloudy appearance.
Manufacturers typically apply a UV-resistant clear coat to the lenses, but this layer eventually degrades, exposing the underlying plastic to the elements.
Selecting the Optimal Polishing Abrasives
Restoring headlight clarity involves carefully removing the damaged outer layer of plastic. Success hinges on choosing the right polishing compounds, which vary in abrasive strength.
- Plastic-Specific Polishing Compounds: These are formulated with fine abrasives designed to gently remove oxidation and light scratches from polycarbonate without causing further damage. Products like Meguiar's PlastX or 3M Headlight Restoration compounds are widely recognized for their effectiveness.
- Rubbing Compounds: For more severe yellowing and deeper scratches, a medium-cut rubbing compound (typically used for paint correction) can be an initial step. It's crucial to use these sparingly and follow up with finer polishes, as they are more aggressive.
- Finishing Polishes: After using a more aggressive compound, a fine-grit finishing polish or swirl remover will refine the surface, eliminating any haziness left by the coarser abrasives and restoring maximum clarity.
Some DIY enthusiasts also report success with household items like toothpaste (which contains mild abrasives) for very light hazing, though dedicated automotive compounds generally yield superior and longer-lasting results.
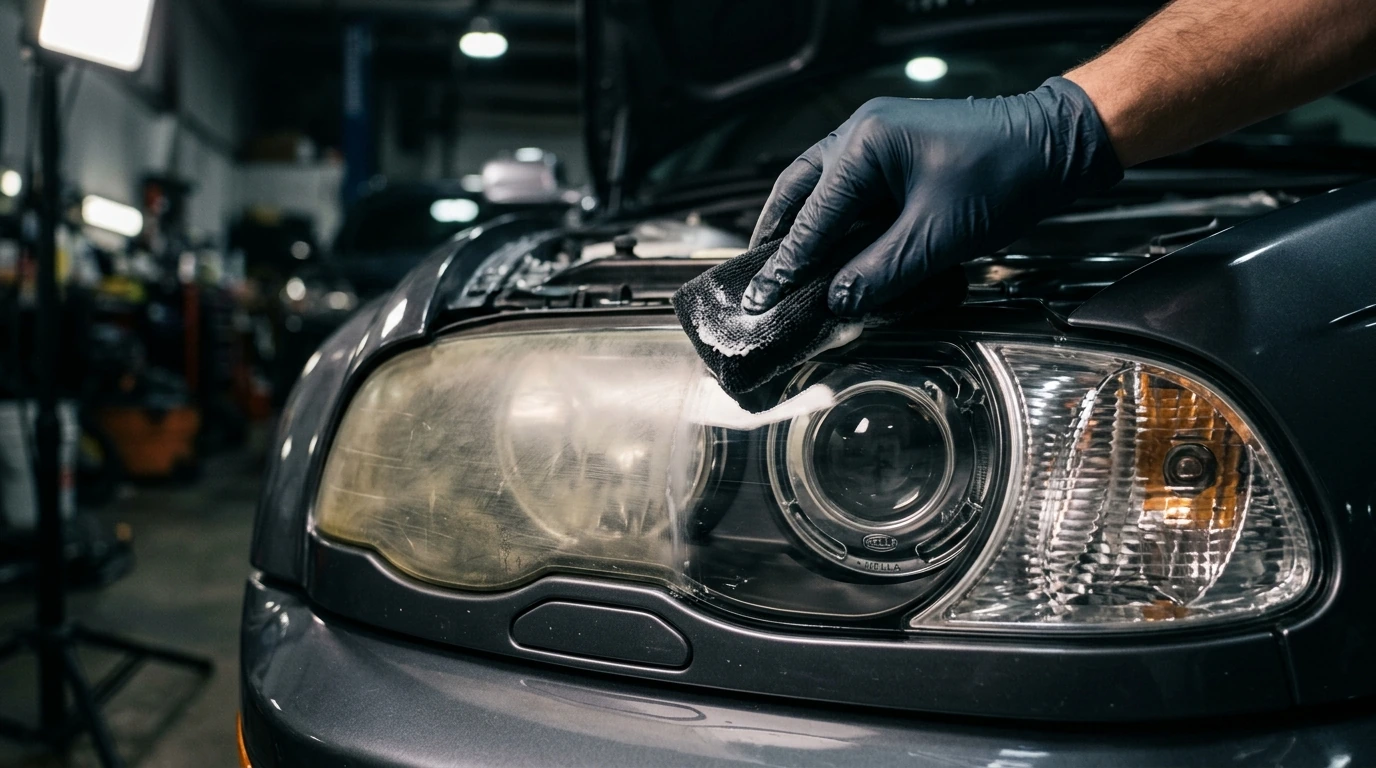
A Detailed Guide to Headlight Clarity
Restoring your headlights is a multi-step process that requires patience and attention to detail. Always work on a cool, dry headlight in a shaded area.
Preparing the Lens for Treatment
- Clean the Headlights: Wash the headlights thoroughly with car soap and water to remove surface dirt and grime. Dry them completely.
- Mask Surrounding Paint: Apply painter's tape around the perimeter of the headlight lens. This protects your car's paint from accidental contact with abrasive compounds or sanding.
- Assess Damage: Examine the headlight. If it's severely yellowed or has deep scratches, you might need to start with a coarser abrasive (like 800-grit wet sandpaper) before moving to compounds. For moderate hazing, compounds alone are often sufficient.
Applying Compound and Polishing Techniques
- Initial Application: Apply a small amount of your chosen polishing compound to a clean microfiber applicator pad or a dedicated foam polishing pad attached to a drill (on a low speed setting).
- Even Polishing: Work the compound into the headlight surface using small, overlapping circular motions or back-and-forth passes. Apply moderate, even pressure. If using a drill, keep the pad flat against the surface and move steadily.
- Wipe and Inspect: After working the compound for a minute or two over a section, wipe off the residue with a clean microfiber cloth and inspect the results. The lens should begin to clear.
- Repeat and Refine: Repeat the process, using progressively finer compounds if necessary, until the desired clarity is achieved. For optimal results, you might start with a rubbing compound, then move to a plastic polish, and finish with a fine finishing polish.
PRO TIP: Consistent Pressure is Key
When polishing, maintain consistent, even pressure across the entire headlight surface. Uneven pressure can lead to an inconsistent finish, leaving some areas clearer than others or even creating new swirl marks. Let the compound do the work, not brute force.
Sealing in the Shine and UV Defense
Once the headlights are clear, the final and most crucial step is to protect them.
- Clean Again: Give the restored headlights a final wipe-down with a clean microfiber cloth to ensure no compound residue remains.
- Apply UV Sealant: Apply a dedicated headlight sealant or a high-quality automotive clear coat specifically designed for plastics. These products provide a new protective barrier against UV radiation and environmental damage, significantly extending the life of your restoration. Follow the product manufacturer's instructions for application and curing times.
Pitfalls to Sidestep for Enduring Results
While DIY headlight restoration is accessible, certain mistakes can compromise the outcome or the longevity of the repair:
- Over-Sanding: If wet-sanding is necessary, starting with too aggressive a grit or sanding for too long can remove too much material, potentially weakening the lens or creating deep scratches that are difficult to polish out. Always progress through grits (e.g., 800, 1500, 2000, 3000) systematically.
- Skipping UV Protection: This is perhaps the most common error. Without a fresh UV protective layer, the newly exposed polycarbonate will yellow again much faster, often within months, as it lacks the factory clear coat's defense.
- Using Harsh Chemicals: Avoid using strong solvents, ammonia-based cleaners, or abrasive household scrubbers on your headlights, as these can further degrade the plastic or its new protective coating.
- Improper Polishing Technique: Applying too little compound, insufficient pressure, or not thoroughly working the product can leave behind a hazy or streaky finish. Conversely, excessive speed with a rotary tool can generate too much heat, potentially warping the plastic.
Tight parking spots look harmless, but your car bumpers need real scratch defense →
Long-Term Care for Optimal Visibility
After restoring your headlights, proactive maintenance can keep them looking clear for years:
- Regular Cleaning: Wash your headlights regularly with car-specific soap and a soft cloth to prevent grime buildup.
- Reapply Sealant: Depending on the product, reapply your UV headlight sealant every 6-12 months. This replenishes the protective layer.
- Park in Shade: Whenever possible, park your vehicle in a garage or shaded area to minimize direct sun exposure, which is the primary cause of UV degradation.
- Wax Protection: When waxing your car, apply a thin layer of car wax to your headlights. While not a substitute for a dedicated sealant, it offers an additional layer of temporary protection.
Restoring yellowed headlights at home is a rewarding DIY project that significantly enhances both your vehicle's appearance and, critically, your nighttime driving safety. By understanding the causes of degradation, selecting the appropriate compounds, and following a methodical process, you can achieve professional-looking results and maintain clear, bright headlights for the long haul.


Comments
Post a Comment