
Few elements enhance a vehicle's appearance more than sparkling clean wheels, yet maintaining that pristine look can be a significant challenge, especially when dealing with intricate spoke designs. Brake dust, road grime, and environmental contaminants quickly accumulate in those hard-to-reach areas, often leading to unsightly build-up and potential damage if not addressed correctly. Traditional brushes or sponges often struggle to penetrate deep into complex wheel geometries, sometimes even risking scratches or leaving behind stubborn residue.
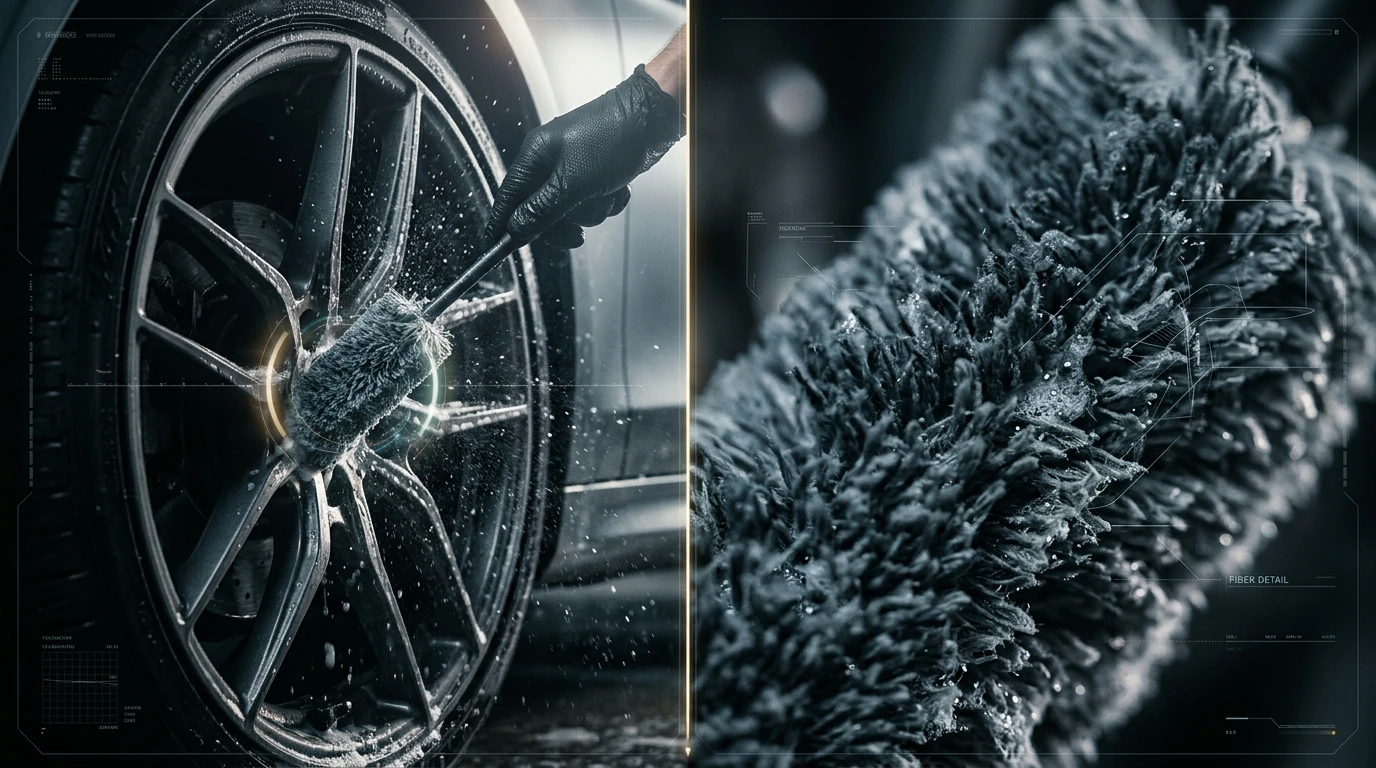
The Challenge of Deep Rims and Your Essential Kit
Modern vehicle wheels, particularly those with multi-spoke or intricate mesh designs, present a unique cleaning dilemma. Their complex architecture creates numerous tight crevices where brake dust and road grime can embed themselves, becoming incredibly difficult to dislodge without the right tools. Aggressive scrubbing with stiff brushes risks marring polished or painted finishes, while oversized brushes simply cannot reach these confined spaces. The solution lies in specialized soft microfiber wheel brushes, engineered to flex and conform to tight angles without causing surface abrasion.
Required Prerequisites and Tools Checklist:
- Soft Microfiber Wheel Brushes: A set including various lengths and diameters is ideal to reach different depths and widths of spokes. Look for brushes with flexible stems and dense, non-abrasive microfiber heads.
- Dedicated Wheel Cleaner: A pH-neutral, non-acidic formula is generally recommended to prevent damage to various wheel finishes (e.g., clear coats, polished aluminum, chrome).
- Two Buckets with Grit Guards: Essential for separating clean rinse water from dirty wash water, preventing contaminants from being transferred back onto the wheels or vehicle paint.
- Wash Mitt or Sponge: For cleaning the wheel face and barrel, distinct from brushes used for spokes.
- Microfiber Drying Towels: Soft, absorbent towels specifically for wheels to prevent water spots and streaks.
- Garden Hose with Spray Nozzle: For effective rinsing.
- Optional: Compressed Air Blower: Useful for drying tight areas and lug nut recesses.
A Step-by-Step Approach to Spotless Wheels
Achieving a truly clean wheel, especially one with deep spokes, requires a methodical process that prioritizes both effectiveness and safety for the finish. Following these steps helps ensure thorough cleaning without unintended damage.
- Pre-Rinse and Cool Down: Begin by thoroughly rinsing the wheels with a strong stream of water from your hose. This removes loose dirt and helps cool down any hot brake components, which is critical as hot surfaces can cause wheel cleaner to dry prematurely, leading to stains.
- Apply Wheel Cleaner: Spray your chosen pH-neutral wheel cleaner generously over the entire wheel surface, including the spokes, barrel, and tire sidewall. Allow it to dwell for the time recommended by the manufacturer, typically 2-5 minutes, to break down brake dust and grime. Avoid letting it dry on the surface.
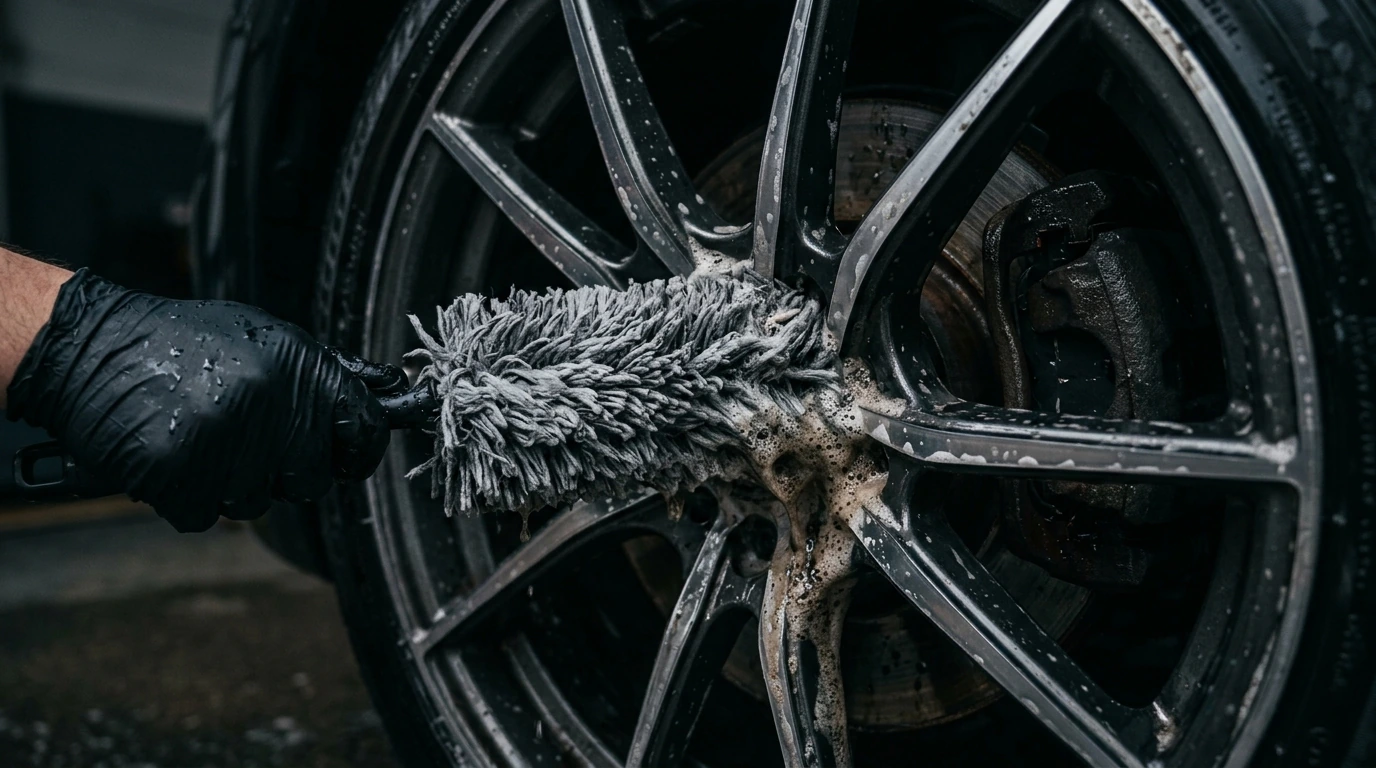
- Agitate with Microfiber Brushes: Dip your soft microfiber wheel brush into your wash bucket (containing clean water, not soap). Carefully insert the brush into the gaps between the spokes, gently working it back and forth to agitate the cleaner and lift embedded contaminants. Use smaller, more flexible brushes for tighter areas and larger ones for broader spoke surfaces.
- Detail Lug Nuts and Calipers: Use a smaller detail brush or a dedicated lug nut brush to clean around the lug nuts and within the caliper assembly, if accessible. These areas are often neglected and accumulate significant grime.
- Final Rinse: Once all areas have been agitated, thoroughly rinse the wheels, brushes, and surrounding fender wells with a powerful stream of water. Ensure all cleaner residue is flushed away, paying close attention to the tightest crevices where cleaner might linger.
- Dry Thoroughly: Use clean, dedicated microfiber drying towels to dry the wheels immediately. For optimal results and to prevent water spots, consider using compressed air to blow water out of lug nut holes and other intricate areas before final towel drying.
Avoiding Common Mistakes for a Flawless Finish
Even with the right tools, certain missteps can compromise your wheel cleaning efforts or, worse, damage your wheels. Being aware of these common pitfalls can help ensure a consistently excellent result.
- Using the Wrong Chemicals: Employing harsh, acidic wheel cleaners on sensitive finishes can cause permanent etching or discoloration. Always verify your cleaner is safe for your specific wheel type.
- Letting Cleaner Dry: Allowing wheel cleaner to dry on the surface, especially in direct sunlight or on hot wheels, can leave stubborn stains or streaks that are difficult to remove.
- Using Dirty or Contaminated Brushes: Reusing brushes without proper rinsing can reintroduce grime and grit, effectively rubbing dirt back onto your wheels or even causing scratches. Always rinse brushes thoroughly after each wheel.
- Insufficient Rinsing: Failing to completely rinse away all wheel cleaner can leave behind a hazy residue or, over time, attract more dirt.
- Cross-Contamination: Using the same wash mitts or brushes for wheels as you do for your car's paint can transfer harsh brake dust and abrasive particles to your delicate clear coat, leading to scratches. Always maintain separate tools for wheels and paint.
Verifying Your Wheel's Radiance
After the cleaning process, a quick check ensures that every spoke and crevice is indeed spotless and streak-free. This verification step is crucial for achieving that showroom-ready look.
Post-Cleaning Inspection Points:
- Visual Inspection from Multiple Angles: Walk around the vehicle and inspect each wheel from various viewpoints, including squatting down to look at the inner barrel and upper wheel arches. Different lighting conditions can reveal missed spots or streaks.
- Tactile Check for Residue: Gently run a clean finger along the spokes and accessible parts of the wheel barrel. Any grittiness or slick residue indicates that further agitation or rinsing may be needed.
- Check for Water Spots: Look for any dried water spots, especially in intricate areas. If present, a quick detail spray and a fresh microfiber towel can usually remove them.
- Examine Tire Sidewalls: Ensure the tire sidewalls are also clean and free of any brown residue from tire blooming or residual cleaner.


Comments
Post a Comment